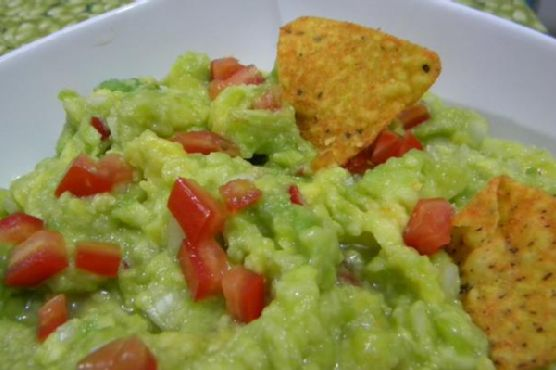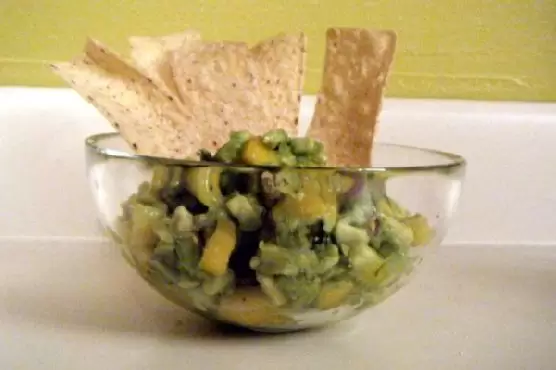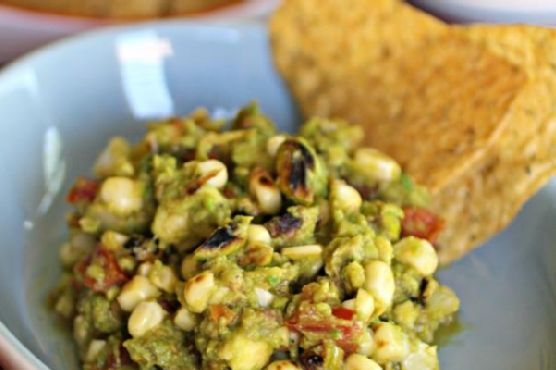
Grilled Guacamole with Pistachios
Intro
Welcome to a culinary journey where tradition meets innovation with our Grilled Guacamole with Pistachios. This recipe brings a smoky twist to the classic guacamole, elevating it to a gourmet experience that is perfect for any occasion. I remember the first time I tried grilled guacamole at a summer barbecue hosted by an old friend. The subtle smokiness intertwined with creamy avocado and crunchy pistachios was a revelation. Ever since that day, this dish has become a staple in my summer gatherings. Let me share this delightful recipe with you, and perhaps it will become a cherished part of your culinary repertoire as well.
Why You’ll Love It
This grilled guacamole is not your ordinary dip. Here are a few reasons why you’ll fall head over heels for this recipe:
- Smoky Flavor: Grilling the vegetables adds a depth of flavor that is both intriguing and satisfying.
- Texture Heaven: The crunchy pistachios contrast beautifully with the creamy avocado, creating a delightful texture.
- Fresh and Nutritious: Packed with fresh ingredients and healthy fats, this recipe is both delicious and nutritious.
- Versatile: Perfect as a dip, a topping for burgers, or even as a side dish.
Ingredients
- 2 avocados, split
- 1 teaspoon cumin
- 1 ear of corn, split
- 1/4 cup fresh cilantro, chopped
- 2 cloves garlic, minced
- 1/4 teaspoon red ground pepper
- 1/4 teaspoon black fresh ground pepper
- 2 jalapeño peppers, split
- 1 lime, juiced
- Olive oil, for brushing vegetables
- 1 small onion, split
- 1/4 cup pistachios, chopped
- Salt to taste
- 1/2 cup diced tomatoes
Instructions
- Lightly brush the avocado flesh, corn, onion, and jalapeño peppers with olive oil.
- Place all vegetables except the avocado in a grill basket and on the grill over medium-high heat.
- Place the avocados cut side up directly on the grill and cook for 2 minutes, then flip and cook cut side down for another 2 minutes. Remove and set aside.
- Allow the other vegetables to cook, turning, until they are tender and lightly charred (10-12 minutes). The corn may take a few minutes longer.
- When the vegetables have cooled enough to touch, cut the corn off the cob and dice the other vegetables.
- In a large bowl, combine the tomatoes, corn, onion, peppers, garlic, and cilantro, and toss to mix.
- Add the avocado to the mixture, lightly tossing and mashing it.
- Add the lime juice, cumin, red and black pepper, and salt. Mix together and adjust seasoning as needed.
- Add the pistachios, toss the mixture again, and serve.
Tips
- Ensure your grill is properly heated before placing the vegetables to get that perfect char.
- Adjust the level of spiciness by varying the amount of jalapeño and red ground pepper according to your preference.
- Use ripe avocados for the best texture and flavor.
Variations & Substitutions
There are numerous ways to adapt this recipe to your tastes:
- Cheese: Add crumbled feta or cotija cheese for an extra burst of flavor.
- Nuts: Swap pistachios with pecans or almonds for a different nutty twist.
- Herbs: Replace cilantro with parsley or basil for a different herbal note.
Storage
Store any leftover guacamole in an airtight container in the refrigerator for up to two days. To prevent browning, place a layer of plastic wrap directly on the surface of the guacamole before sealing the container.
FAQ
Can I make this recipe without a grill?
Absolutely! You can achieve a similar effect by using a grill pan on your stovetop. If neither is available, roasting the vegetables in the oven will also work, though you’ll miss a bit of the smoky flavor.
What if I don’t like spicy foods?
No problem! You can reduce or omit the jalapeño and red ground pepper for a milder version. Consider adding bell peppers for a sweet alternative.
Can I prepare this dish in advance?
Yes, you can grill the vegetables ahead of time and store them in the refrigerator. Assemble the guacamole just before serving to ensure the freshest flavor and texture.
Nutrition
This recipe is rich in healthy fats, fiber, and antioxidants. Avocados provide heart-healthy monounsaturated fats while pistachios offer protein and additional healthy fats. The vegetables add vitamins and minerals, making this a nutrient-dense dish perfect for any diet.
Conclusion
Grilled Guacamole with Pistachios is a delightful twist on the classic guacamole that brings a smoky flavor and a satisfying crunch from the pistachios. This dish is perfect for summer barbecues, family gatherings, or as a unique addition to your weeknight meals. With its combination of fresh, nutritious ingredients and vibrant flavors, it’s sure to become a favorite. We hope you enjoy making and sharing this recipe as much as we do!
Related update: Grilled Guacamole with Pistachios
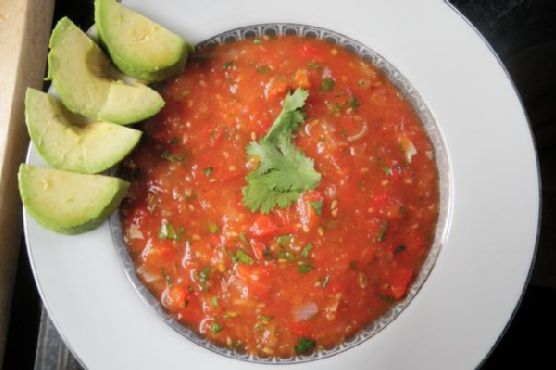
Related update: Savory Slow Roasted Tomatoes with Filet of Anchovy