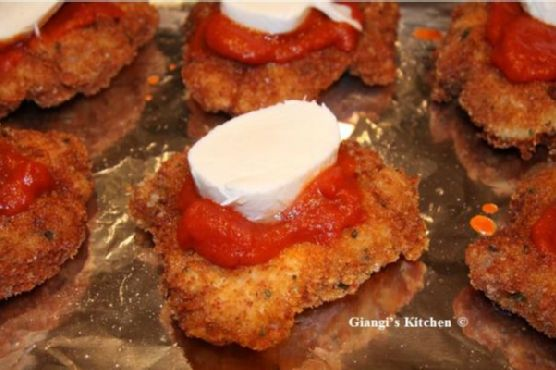
Easy Chicken Cordon Bleu
Intro
Chicken Cordon Bleu is a classic dish that never fails to impress, and it holds a special place in my heart. I vividly remember the first time I tasted this delightful creation. It was during a family gathering at my grandmother’s house, where the air was filled with warmth, laughter, and the irresistible aroma of delicious food. My grandmother, with her gentle hands and loving smile, served us her special version of Chicken Cordon Bleu, and I was instantly captivated by its rich flavors and tender texture. Today, I’m excited to share with you a simple and easy-to-follow recipe that brings back those cherished memories, and I hope it becomes a favorite in your home too.
Why You’ll Love It
This Easy Chicken Cordon Bleu is perfect for both novice cooks and seasoned chefs. It’s a dish that combines the savory flavors of ham and cheese with tender, juicy chicken, all wrapped up in a crispy breadcrumb coating. Here are a few reasons why you’ll love this recipe:
- Simple Ingredients: You probably already have most of the ingredients at home.
- Quick Preparation: With just a few straightforward steps, you’ll have a gourmet meal ready in no time.
- Kid-Friendly: The cheesy, crispy goodness is sure to be a hit with both kids and adults alike.
- Customizable: Easily adapt the recipe to suit your taste preferences or dietary needs.
Ingredients
- 4 skinless boneless chicken breasts
- 4 slices of ham
- 8 sticks of cheddar cheese (or more if you love cheese!)
- Salt
- Ground peppercorn
- Bread crumbs
- Flour
- 1 egg, beaten
- Butter (for layering)
Instructions
- Preheat your oven to 180°C (356°F).
- Gently pound the chicken breasts to about 1/4-inch thickness using a meat mallet.
- Season both sides of the chicken with salt and ground pepper.
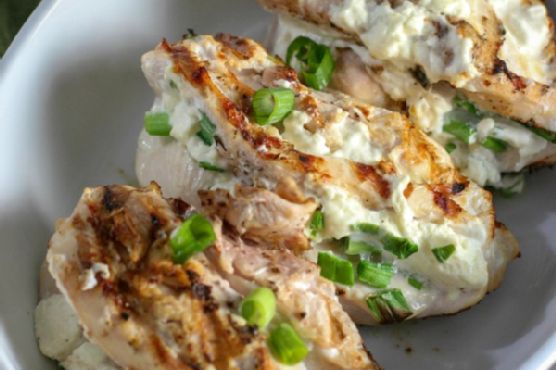
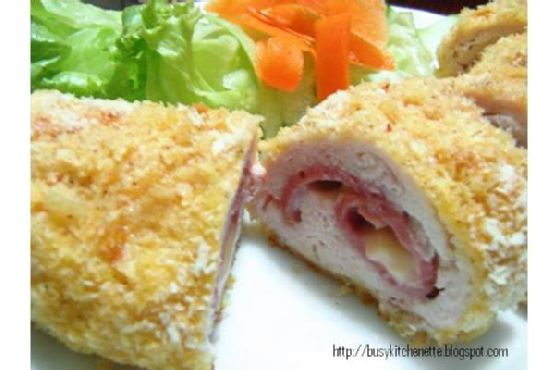
- Place one slice of ham and two sticks of cheddar cheese on top of each chicken breast. Feel free to add more cheese if you love it as much as I do!
- Roll up each breast and secure with a toothpick to hold its shape.
- Dredge each roll in flour, ensuring an even coat.
- Brush each roll with the beaten egg.
- Roll the chicken in the bread crumbs mixture until fully coated.
- Brush a baking pan with olive oil, then place the chicken rolls on it.
- Bake in the preheated oven for about 20 minutes.
- Layer each roll with butter cubes. Allow the butter to melt on top, enhancing the aroma and flavor.
- Bake for another 15 minutes until golden and fully cooked.
- Serve hot, optionally with your favorite sauce.
Tips
- For an extra crispy coating, use panko breadcrumbs instead of regular bread crumbs.
- Ensure the chicken is pounded evenly to cook uniformly.
- Let the chicken rest for a few minutes before slicing to lock in the juices.
Variations & Substitutions
This recipe is wonderfully adaptable. Here are some ideas to make it your own:
- Cheese: Swap cheddar cheese for Swiss or Gruyère for a more traditional flavor.
- Ham: Use turkey or prosciutto for a different taste profile.
- Gluten-Free: Substitute regular flour and breadcrumbs with gluten-free versions.
- Herbs: Add fresh herbs like thyme or parsley to the breadcrumb mixture for added flavor.
Storage
Leftover Chicken Cordon Bleu can be stored in an airtight container in the refrigerator for up to 3 days. To reheat, place the rolls in a preheated oven at 180°C (356°F) for about 10 minutes or until warmed through. Avoid using the microwave, as it can make the chicken rubbery.
FAQ
Can I prepare Chicken Cordon Bleu in advance?
Yes, you can prepare the chicken rolls up to the point of baking, then cover and refrigerate them for up to 24 hours. When you’re ready to serve, simply bake them as directed, adding a few extra minutes to the cooking time if needed.
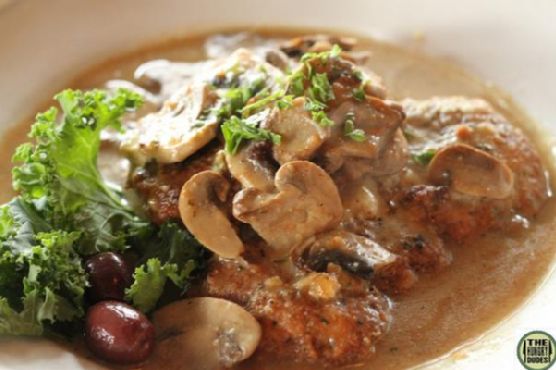
What sauce goes well with Chicken Cordon Bleu?
There are several sauces that pair beautifully with Chicken Cordon Bleu. A classic choice is a creamy Dijon mustard sauce. Alternatively, you could try a mushroom or white wine sauce for a gourmet twist.
Nutrition
While nutritional content can vary based on ingredient brands and portion sizes, each roll of Chicken Cordon Bleu generally contains approximately:
- Calories: 400
- Protein: 35g
- Fat: 20g
- Carbohydrates: 15g
- Fiber: 1g
- Sugar: 1g
Conclusion
This Easy Chicken Cordon Bleu is a delightful dish that combines simplicity with elegance, making it perfect for any occasion. Whether you’re hosting a dinner party or simply enjoying a cozy meal with family, this recipe is sure to become a treasured favorite. I hope you find as much joy in making and sharing it as I do. Enjoy!
Related update: Easy Chicken Cordon Bleu