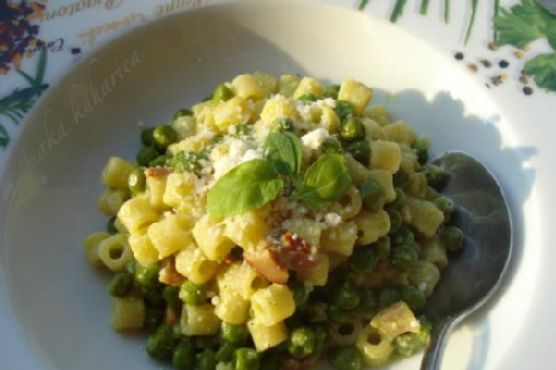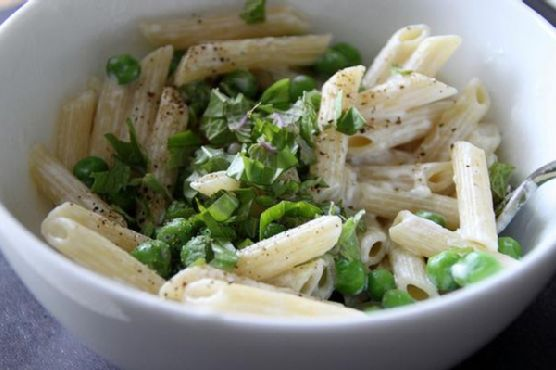
Penne with Goat Cheese and Basil
Intro
There’s something undeniably comforting about a bowl of perfectly cooked pasta, especially when it’s infused with the creamy tang of goat cheese and the aromatic freshness of basil. This Penne with Goat Cheese and Basil recipe is a delightful blend of rich flavors and simple ingredients, creating a dish that’s both elegant and easy to prepare. Every time I make this dish, I’m transported back to a sunlit kitchen in Tuscany, where I first learned the art of making pasta from scratch with my grandmother. The memory of her gentle hands guiding mine through the process is as vivid as the vibrant green basil leaves we picked fresh from her garden. This recipe is my homage to those cherished moments and a reminder of how food can connect us to our past.
Why You’ll Love It
This recipe is a true celebration of simplicity and flavor, perfect for both weeknight dinners and special occasions. Here’s why you’ll adore it:
- Quick and Easy: It takes less than 30 minutes from start to finish.
- Minimal Ingredients: You’ll only need five ingredients, all of which are pantry staples.
- Rich and Creamy: The goat cheese melts beautifully, creating a luscious sauce that coats each piece of pasta.
- Fresh and Aromatic: Fresh basil adds a burst of flavor and color.
- Versatile: Perfect for a quiet dinner for two or a festive gathering with friends.
Ingredients
- Penne pasta
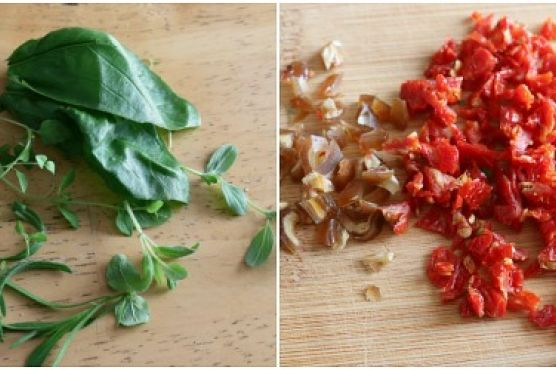
- Fresh basil leaves
- Goat cheese
- Olive oil
- Salt and pepper
Instructions
- Cook the penne pasta according to the package directions until al dente. Drain and set aside.
- Arrange the basil leaves in a stack, roll them lengthwise like a cigar, and slice thinly crosswise to create a chiffonade. This technique enhances the basil’s flavor and presentation.
- In a large bowl, toss the hot pasta with olive oil and crumbled goat cheese. Stir gently until the cheese melts slightly, coating the pasta.
- Allow the pasta to cool for a few minutes. This step helps the flavors meld together.
- Add the basil chiffonade, and season with salt and pepper to taste. Toss everything together until well combined.
- Serve immediately, garnished with additional basil if desired.
Tips
Here are some handy tips to make your dish even more delightful:
- Use High-Quality Ingredients: Since this recipe relies on a few key ingredients, using high-quality olive oil and fresh goat cheese will make a noticeable difference.
- Don’t Overcook the Pasta: Be sure to cook the pasta al dente, as it will continue to soften when tossed with the warm ingredients.
- Chiffonade Like a Pro: Rolling the basil before slicing helps prevent bruising and keeps your basil looking fresh.
Variations & Substitutions
This recipe is wonderfully adaptable. Here are some variations and substitutions you might consider:
- Add Protein: Grilled chicken or shrimp would pair beautifully with the creamy goat cheese and fresh basil.
- Try Different Cheeses: If goat cheese isn’t your preference, feta or ricotta can work as delicious alternatives.
- Incorporate Vegetables: Cherry tomatoes, roasted red peppers, or spinach can add extra nutrition and flavor.
- Use Whole Wheat Pasta: For a healthier twist, substitute the penne with whole wheat pasta.
Storage
This dish is best enjoyed fresh, but if you have leftovers, store them in an airtight container in the refrigerator for up to three days. To reheat, gently warm the pasta in a skillet over low heat with a splash of olive oil to help revive the creamy texture.
FAQ
Can I make this dish vegan?
Yes, you can easily make a vegan version by using vegan cheese alternatives available in most grocery stores. Nutritional yeast can also add a cheesy flavor without dairy.
Can I serve this dish cold?
Absolutely! This pasta is also delightful as a cold pasta salad. Simply allow the pasta to cool completely before adding the basil, and enjoy it straight from the fridge.
What type of goat cheese should I use?
A soft, creamy goat cheese works best for this recipe, as it melts well and evenly coats the pasta. You can also experiment with flavored varieties, like herbed or peppered goat cheese for an extra kick.
Nutrition
This dish is a wholesome meal, offering a balanced mix of carbohydrates, healthy fats from the olive oil, and protein from the goat cheese. While exact nutritional values will vary based on the specific brands and quantities used, each serving provides a good source of calcium and vitamins from the basil.
Conclusion
Penne with Goat Cheese and Basil is not just a meal; it’s a comforting reminder of the power of simple ingredients coming together to create something extraordinary. Whether you’re relishing it alone with a glass of wine or sharing it with loved ones around a bustling dinner table, this dish is sure to become a beloved staple in your culinary repertoire. As you savor each bite, may it bring you warmth, joy, and perhaps a touch of nostalgia for the cherished memories created in your own kitchen.
Related update: Penne with Goat Cheese and Basil