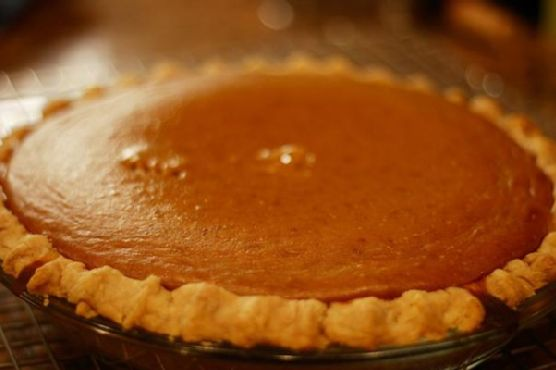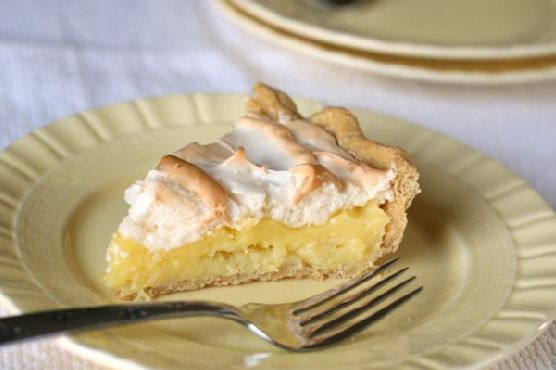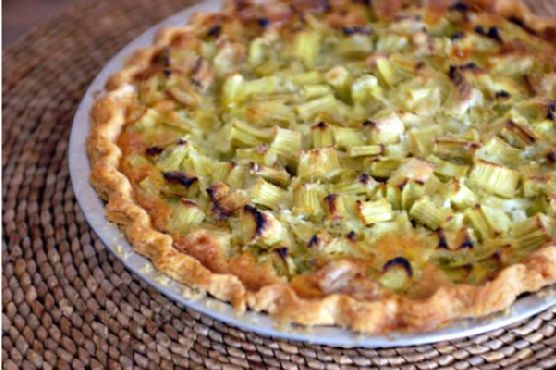
Delicious Rhubarb Custard Pie
Intro
There’s something magical about the smell of a freshly baked pie wafting through the house. It takes me back to my grandmother’s cozy kitchen, where I spent countless Sundays as a child. My grandmother always had a pie cooling on the windowsill, and her rhubarb custard pie was a family favorite. The tangy rhubarb paired with the creamy custard is a match made in dessert heaven. Today, I’m thrilled to share this timeless recipe with you, hoping it brings as much joy to your table as it has to mine.
Why You’ll Love It
This rhubarb custard pie is a delightful combination of flavors and textures. The tartness of the rhubarb perfectly balances the sweetness of the custard, and the buttery crust adds a lovely crunch. It’s a simple yet elegant dessert that’s perfect for any occasion, whether it’s a family gathering or a potluck with friends. Plus, it’s a great way to use up that rhubarb from your garden or local farmers’ market. You’ll love how easy it is to make, and your guests will love how delicious it tastes.
Ingredients
- 1 pre-baked pie crust
- 3 cups raw rhubarb, chopped
- 1 cup sugar
- 3 tablespoons all-purpose flour
- 1/2 teaspoon nutmeg
- 1/4 teaspoon salt
- 3 large eggs, beaten
- 1/4 cup butter, melted
Instructions
- Preheat your oven to 400°F (220°C).
- In a large bowl, combine the chopped rhubarb, sugar, flour, nutmeg, and salt. Mix well until the rhubarb is evenly coated.
- Pour the rhubarb mixture into the pre-baked pie crust, spreading it out evenly.
- Beat the eggs in a separate bowl until well combined, then pour them over the rhubarb mixture in the pie crust.
- Drizzle the melted butter evenly over the top of the pie to add richness and flavor.
- Make sure all the rhubarb is covered with the egg and butter mixture, pressing down gently if needed.
- Cover the edges of the pie crust with aluminum foil to prevent them from over-browning.
- Bake the pie in the preheated oven for 50 minutes, or until the custard is set and the top is golden brown.
- Allow the pie to cool on a wire rack before serving. This will help the custard firm up, making it easier to slice.
Tips
For the best results, use fresh rhubarb that’s firm and brightly colored. If your rhubarb is particularly tart, you can adjust the sugar to suit your taste. To prevent a soggy bottom crust, make sure your pie crust is fully baked before adding the filling. If you find that your pie is browning too quickly, you can tent a piece of foil over the top to slow down the browning process.
Variations & Substitutions
If you’re looking to mix things up, consider adding a teaspoon of vanilla extract or a pinch of cinnamon to the custard mixture for a different flavor profile. You can also substitute half of the rhubarb with strawberries for a classic strawberry-rhubarb combination. For a gluten-free version, use a gluten-free pie crust and substitute the all-purpose flour with a gluten-free flour blend.
Storage
This pie is best enjoyed fresh, but it can be stored in the refrigerator for up to three days. Simply cover the pie with plastic wrap or aluminum foil to keep it fresh. If you want to freeze the pie, wrap it tightly in plastic wrap and foil, and store it in the freezer for up to two months. Thaw it in the refrigerator overnight before serving.
FAQ
Can I use frozen rhubarb instead of fresh?
Yes, you can use frozen rhubarb if fresh is not available. Just make sure to thaw it completely and drain any excess liquid before using it in the pie to prevent a watery filling.
How can I tell when the pie is done?
The pie is done when the custard is set in the center and the top is lightly browned. You can gently jiggle the pie; if the center is firm and doesn’t wobble, it’s ready. If using a thermometer, the internal temperature of the custard should be around 180°F (82°C).
Can I make this pie ahead of time?
Yes, you can make the pie a day in advance. Once baked and cooled, cover it with plastic wrap and store it in the refrigerator. This allows the flavors to meld together, making it even more delicious.
Nutrition
This rhubarb custard pie is a delightful treat, but it is indulgent. Each slice contains approximately 300 calories, 15 grams of fat, 40 grams of carbohydrates, and 5 grams of protein. Enjoy it in moderation as part of a balanced diet.
Conclusion
There you have it, a delightful rhubarb custard pie that’s sure to be a hit at your next gathering. Whether you’re a rhubarb lover or new to this unique ingredient, this pie is a fantastic way to enjoy its distinctive flavor. I hope this recipe brings a touch of nostalgia to your home and becomes a cherished favorite. Happy baking!
Related update: Delicious Rhubarb Custard Pie