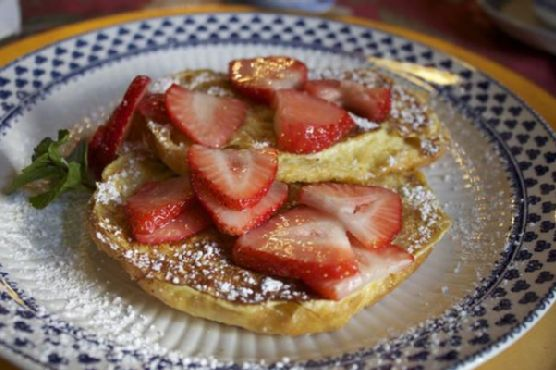
French Toast Croissants with Strawberries
Intro
There’s something magical about the aroma of freshly cooked French toast wafting through the kitchen. It takes me back to those lazy Sunday mornings at my grandmother’s house, where breakfast was an event to be savored. Instead of traditional bread, today we’re giving this classic breakfast staple a delightful twist by using croissants. The rich, buttery layers of croissants make them the perfect canvas for this sweet, eggy delight. Paired with fresh strawberries and a hint of orange, this dish elevates any breakfast or brunch spread.
Why You’ll Love It
This recipe combines the best of both worlds: the indulgence of a French pastry and the comforting familiarity of French toast. Here’s why you’ll fall in love with these French Toast Croissants with Strawberries:
- Rich Flavor: The croissants’ buttery layers absorb the egg mixture beautifully, creating a rich and satisfying taste.
- Easy to Make: With simple ingredients and straightforward instructions, this recipe is perfect for both beginners and seasoned cooks.
- Versatile: Whether you’re making a special breakfast or a fancy brunch, this dish fits the bill.
- Seasonal Freshness: The addition of fresh strawberries brings a burst of color and flavor, making it a perfect dish for spring and summer.
Ingredients
- Butter
- Split plain croissants
- Eggs
- Milk
- Orange peel
- Powdered sugar
- Fresh strawberries
Instructions
- In a small mixer bowl, beat together all orange butter ingredients at medium speed, scraping the bowl often, until light and fluffy (about 1 to 2 minutes); set aside.
- In a pie pan, stir together milk, eggs, and 1 teaspoon of orange peel.
- In a 10-inch skillet or griddle, melt 2 tablespoons of butter over medium heat.
- Dip 4 croissant halves into the egg mixture, turning to coat both sides. Place croissant halves, cut side down, in the skillet.
- Cook, turning once, until golden brown (3 to 4 minutes on each side). Remove to a serving platter and keep warm.
- Repeat with the remaining 2 tablespoons of butter and 4 croissant halves.
- Dust croissant halves with powdered sugar and serve with orange butter and fresh strawberries.
Tips
- Use Day-Old Croissants: Slightly stale croissants will absorb the egg mixture better without becoming too soggy.
- Keep Warm: To keep the croissants warm while you finish cooking, place them in a preheated oven at a low temperature.
- Don’t Overcrowd the Pan: Cook the croissants in batches if necessary to ensure even cooking.
Variations & Substitutions
If you’re looking to customize your French toast croissants, here are a few ideas:
- Fruity Variations: Swap strawberries with blueberries, raspberries, or sliced bananas for a different flavor profile.
- Nutty Addition: Sprinkle chopped nuts like almonds or pecans for added crunch.
- Dairy-Free Option: Use almond milk or coconut milk instead of regular milk for a dairy-free version.
Storage
French Toast Croissants are best enjoyed fresh, but if you have leftovers, store them in an airtight container in the refrigerator for up to two days. Reheat in a preheated oven at 350°F until warmed through, or use a toaster oven for added crispiness.
FAQ
Can I make the orange butter ahead of time?
Yes, you can prepare the orange butter ahead of time and store it in the refrigerator. Just make sure to bring it to room temperature before serving so it spreads easily.
Can I freeze French Toast Croissants?
While it’s possible to freeze them, the texture might change slightly. If you choose to freeze, wrap each croissant tightly in plastic wrap and place in a freezer-safe bag. Thaw in the fridge overnight before reheating.
What can I serve with French Toast Croissants?
This dish pairs wonderfully with a side of crispy bacon or sausage. A refreshing fruit salad or a glass of freshly squeezed orange juice complements the meal beautifully.
Nutrition
While I don’t have exact nutritional information, this dish is indulgent and should be enjoyed as a treat. For lighter options, consider reducing the amount of butter or powdered sugar, or serving with a fresh fruit salad.
Conclusion
French Toast Croissants with Strawberries is a delightful twist on a classic breakfast favorite that promises to add a touch of elegance to your morning routine. Whether you’re enjoying a cozy family breakfast or hosting a brunch with friends, this dish is sure to impress. The combination of buttery croissants, sweet strawberries, and fragrant orange butter creates a symphony of flavors that’ll transport you straight to a Parisian café. So, grab your apron and treat yourself to this indulgent breakfast experience!
Related update: French Toast Croissants with Strawberries
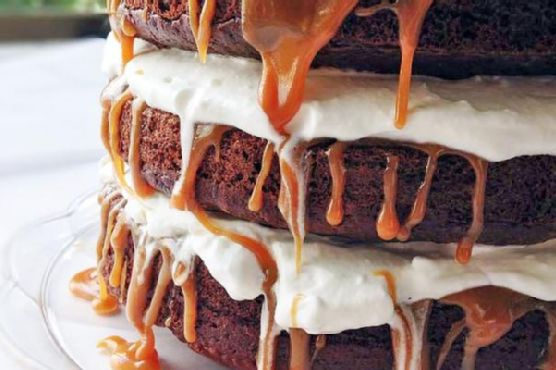
Related update: Caramel ice cream
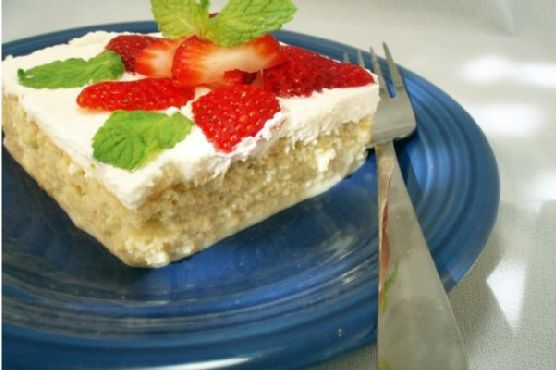
Related update: Banana Blueberry Pancakes