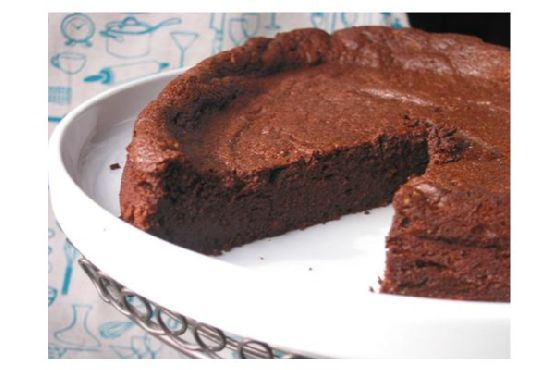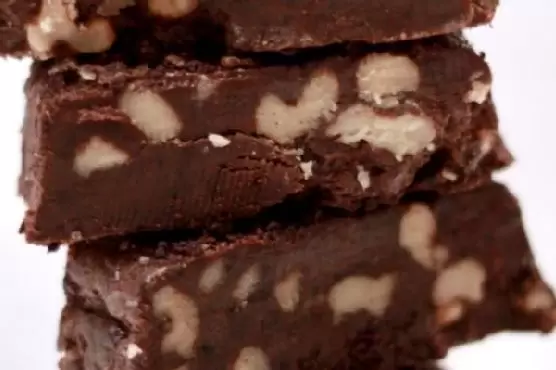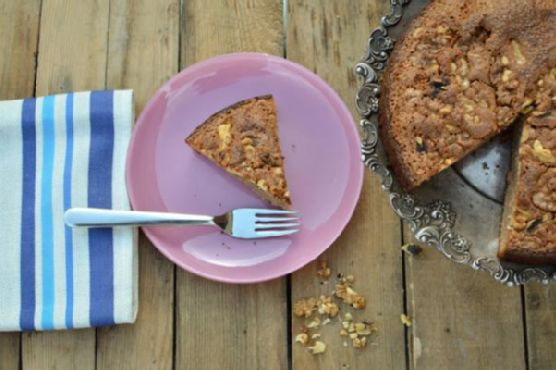
Chocolate Nutella Walnut Cake
Intro
There’s nothing quite like the smell of a homemade cake wafting through the house. For me, it brings back fond memories of my childhood, sneaking into the kitchen to catch a whiff of whatever my grandmother was baking. One of my all-time favorites was her Chocolate Nutella Walnut Cake, a deliciously rich and nutty treat that always had the family gathered around, forks ready. This cake combines the deep, rich flavors of dark chocolate with the creamy, nutty goodness of Nutella and a satisfying crunch from walnuts. It’s a recipe passed down through generations, and I’m thrilled to share it with you today.
Why You’ll Love It
This Chocolate Nutella Walnut Cake is a dessert lover’s dream. Here are a few reasons why you’ll fall in love with it:
- Rich and Decadent: The combination of dark chocolate and Nutella creates a luscious, melt-in-your-mouth experience.
- Textural Delight: The walnuts add a crunchy texture that perfectly complements the soft, moist cake.
- Simple to Make: With straightforward instructions and common ingredients, this cake is as easy to whip up as it is delicious.
- Perfect for Any Occasion: Whether it’s a family gathering, a holiday, or a simple weekday treat, this cake is sure to please.
Ingredients
- 3 large eggs
- 1 cup sugar
- 1 cup chopped walnuts
- 1 cup Nutella
- 100g dark chocolate, chopped
- 1/2 cup butter
- 1 cup all-purpose flour
- 1 teaspoon baking powder
- 1/4 teaspoon salt
Instructions
- Preheat your oven to 350°F (185°C).
- In a large mixing bowl, beat the eggs and sugar together until the mixture is light and fluffy.
- In a saucepan over low heat, melt the butter, dark chocolate, and Nutella, stirring constantly until smooth.
- Gradually add the melted chocolate mixture to the egg and sugar mixture, stirring continuously to combine.
- In a separate bowl, mix together the flour, baking powder, and salt. Gradually fold these dry ingredients into the wet mixture until well combined.
- Add the chopped walnuts to the batter and gently fold them in.
- Prepare a springform pan by greasing it with butter and lightly dusting it with flour.
- Pour the batter into the prepared pan, smoothing the top with a spatula.
- Bake in the preheated oven for 40 minutes, or until a toothpick inserted into the center of the cake comes out clean.
- Allow the cake to cool in the pan for 10 minutes before transferring it to a wire rack to cool completely.
Tips
To ensure your Chocolate Nutella Walnut Cake turns out perfectly every time, consider these helpful tips:
- Room Temperature Ingredients: Make sure your eggs and butter are at room temperature before you begin. This helps achieve a smoother batter.
- Don’t Overmix: When combining the dry ingredients with the wet, be careful not to overmix. This can lead to a dense cake.
- Chop Walnuts Finely: For a more even distribution of walnuts throughout the cake, chop them finely.
Variations & Substitutions
Feel free to get creative with this recipe! Here are a few variations and substitutions you might like:
- Nut-Free Option: If you’re not a fan of walnuts or have a nut allergy, you can omit them or substitute with chocolate chips for extra indulgence.
- Different Nutella Flavors: Try using Nutella’s hazelnut spread with cocoa for a different flavor profile.
- Gluten-Free Alternative: Substitute the all-purpose flour with a gluten-free flour blend for a celiac-friendly treat.
Storage
Store any leftover cake in an airtight container at room temperature for up to 3 days, or in the refrigerator for up to a week. For longer storage, wrap the cake tightly in plastic wrap and aluminum foil, then freeze for up to three months. Thaw it in the refrigerator overnight before serving.
FAQ
Can I use milk chocolate instead of dark chocolate?
Yes, you can substitute milk chocolate for dark chocolate if you prefer a sweeter taste. However, keep in mind that this will change the overall flavor profile of the cake.
What can I use instead of Nutella?
If you don’t have Nutella on hand, you can use any chocolate hazelnut spread or even a homemade version. Alternatively, peanut butter or almond butter can be used for a different twist.
How do I know when the cake is done?
The best way to check if the cake is done is to insert a toothpick into the center. If it comes out clean or with just a few crumbs, the cake is ready. Be careful not to overbake, as this can dry out the cake.
Nutrition
This cake is a decadent treat, so it’s best enjoyed in moderation. Each slice contains approximately:
- Calories: 350
- Fat: 20g
- Saturated Fat: 9g
- Cholesterol: 70mg
- Sodium: 150mg
- Carbohydrates: 38g
- Sugar: 25g
- Protein: 5g
Conclusion
Whether you’re a chocolate lover, a Nutella enthusiast, or simply someone who enjoys baking, this Chocolate Nutella Walnut Cake is sure to become a favorite in your dessert repertoire. It’s a perfect balance of rich flavors and delightful textures that will have you reaching for seconds. Bring a bit of nostalgia and warmth into your kitchen and share this delectable treat with your loved ones. Happy baking!
Related update: Chocolate Nutella Walnut Cake
Related update: Candy Cane Chocolate Marshmallows
Related update: Gluten-Free Tres Leches Cake