Easy Thanksgiving Entertaining
Intro
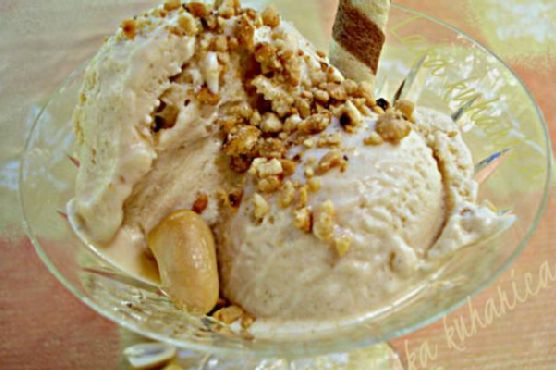
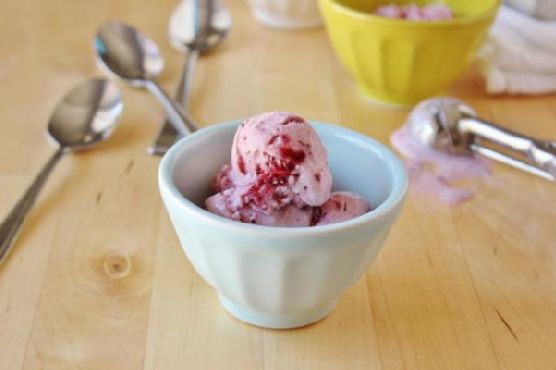
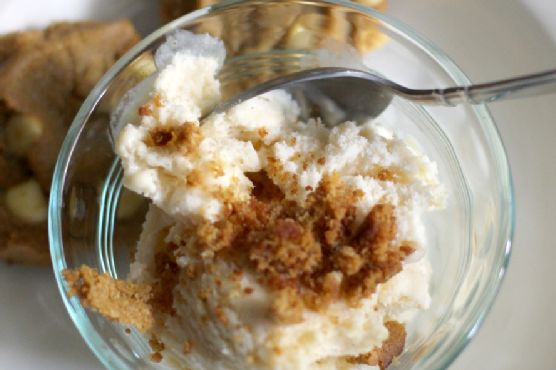
Thanksgiving has always been a time for family, friends, and unforgettable meals. As a child, I remember the warmth of the kitchen, the smell of spices, and the sound of laughter that filled our home. My grandmother would always have a special treat ready for us kids—a homemade pumpkin spice ice cream that was both comforting and delicious. Now that I host Thanksgiving, I’ve adapted her recipe to make it even easier, so I can spend more time with my loved ones and less time in the kitchen. This Easy Thanksgiving Entertaining recipe brings together the flavors of the season with minimal fuss, making it the perfect addition to your holiday table.
Why You’ll Love It
This ice cream recipe is a delightful twist on traditional Thanksgiving desserts. Here are a few reasons why you’ll fall in love with it:
- Simple Ingredients: With just a handful of ingredients, you can create a dessert that’s both luxurious and comforting.
- Quick Preparation: Spend less time cooking and more time enjoying with family and friends.
- Seasonal Flavors: The combination of pumpkin spice and creamy goodness captures the essence of fall.
- Kid-Friendly: This treat is a hit with kids and adults alike, making it perfect for gatherings.
Ingredients
- 2 cups heavy cream
- 1 cup whole milk
- 1/2 cup sugar
- 1 teaspoon vanilla extract
- Pinch of salt
- 1 cup crushed pumpkin spice cookies
Instructions
- In a large mixing bowl, whisk together the heavy cream, whole milk, sugar, vanilla extract, and salt until the sugar has completely dissolved.
- Gently fold in the crushed pumpkin spice cookies, ensuring they are evenly distributed throughout the mixture.
- Pour the mixture into an ice cream machine and freeze according to the manufacturer’s instructions.
- Once the ice cream reaches a soft-serve consistency, transfer it to an airtight container and freeze until firm, about 2-4 hours.
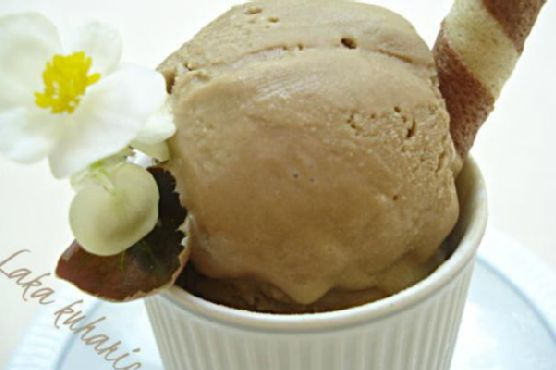
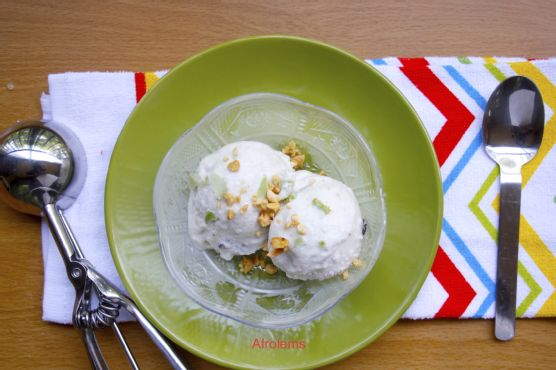
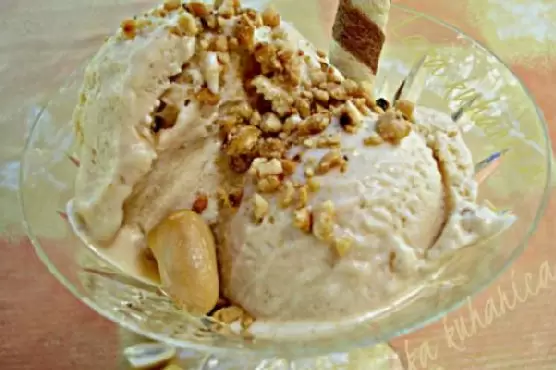
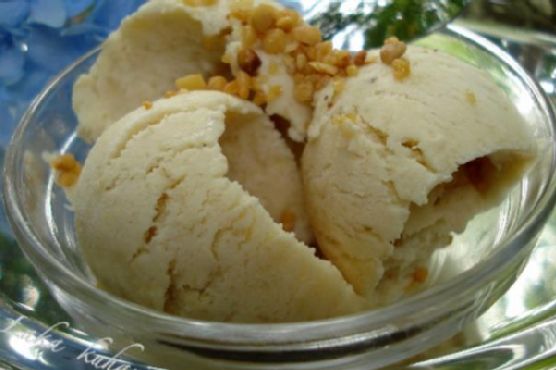
- When ready to serve, scoop into bowls and garnish with an additional pumpkin spice cookie for an extra touch of festivity and crunch.
Tips
For the best results, make sure your ice cream mixture is well chilled before adding it to the ice cream machine. This will help it freeze faster and achieve a creamier texture. If you don’t have an ice cream machine, you can pour the mixture into a shallow dish, freeze it, and stir every 30 minutes until it reaches the desired consistency.
Variations & Substitutions
If you’re looking to switch things up, consider these delicious variations:
- Spiced Apple Cider: Replace the pumpkin spice cookies with crushed gingersnap cookies and add a teaspoon of cinnamon.
- Chocolate Pumpkin: Stir in 1/2 cup of mini chocolate chips for a chocolatey twist.
- Dairy-Free Option: Substitute coconut milk for heavy cream and almond milk for whole milk to make it dairy-free.
Storage
Store any leftover ice cream in an airtight container in the freezer for up to two weeks. To prevent ice crystals from forming, press a piece of plastic wrap directly onto the surface of the ice cream before sealing the container.
FAQ
Can I make this ice cream without an ice cream machine?
Yes, you can! Simply pour the mixture into a shallow dish and freeze, stirring every 30 minutes to break up ice crystals until it reaches the desired consistency.
How can I make this recipe more festive?
Consider adding a tablespoon of your favorite liqueur, such as bourbon or rum, for an adult version. You can also top the ice cream with caramel sauce or whipped cream for an extra indulgent treat.
Is there a way to make this ice cream less sweet?
Feel free to reduce the sugar to 1/4 cup if you prefer a less sweet dessert. The cookies will still provide plenty of flavor and sweetness.
Nutrition
While this ice cream is a treat, it can be enjoyed in moderation as part of a balanced diet. A single serving (1/2 cup) contains approximately:
- Calories: 250
- Fat: 18g
- Carbohydrates: 22g
- Protein: 3g
Conclusion
This Easy Thanksgiving Entertaining dessert is more than just ice cream—it’s a memory in the making. Perfect for sharing with loved ones, it’s a sweet reminder of the warmth and togetherness that the holiday season brings. Whether you’re serving it to a crowd or enjoying a quiet evening in, this ice cream is sure to become a cherished part of your Thanksgiving tradition. So go ahead, scoop up some joy, and savor the flavors of the season!
Related update: Easy Thanksgiving Entertaining
Related update: Cacao-Pecan Shortbread Cookies