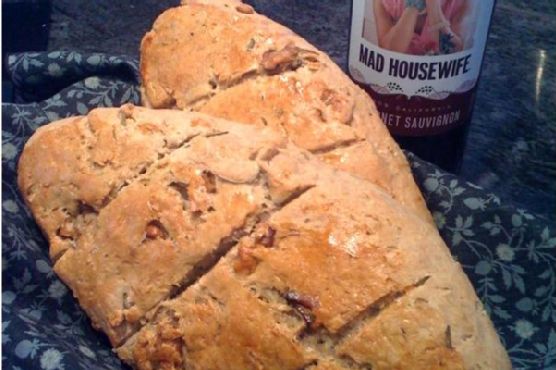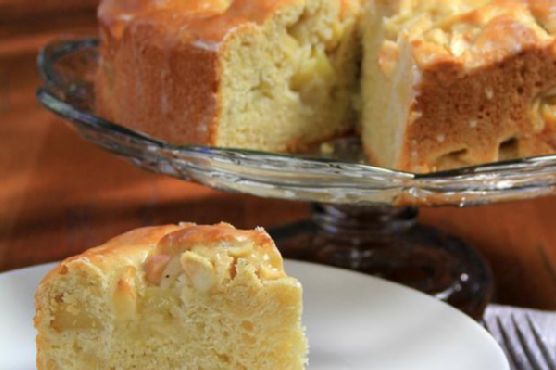
Fall Apple Yeast Bread | Made by Meaghan Moineau
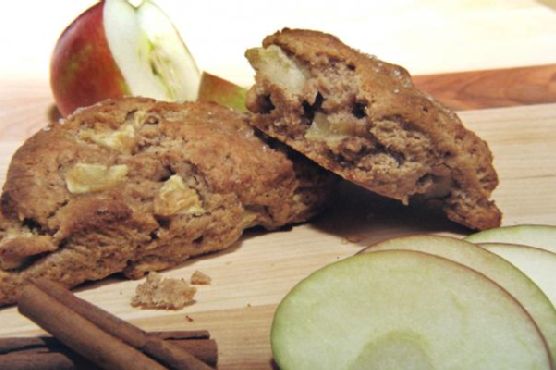
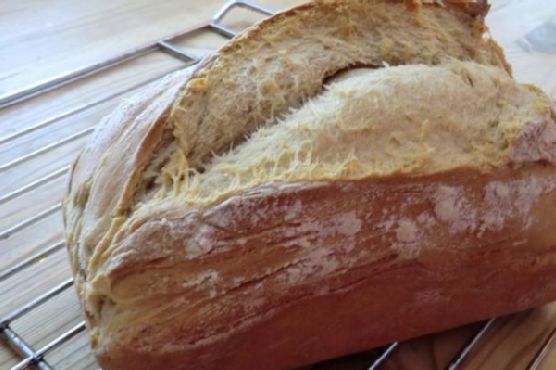
Title: "Savor the Season: Baking Fall Apple Yeast Bread"Description: Dive into the warmth of autumn with our Fall Apple Yeast Bread recipe. This delightful dessert marries the comforting flavors of apple cider, cinnamon, and honey, enveloping them in a soft, golden crust. Perfect for cozy gatherings or a nostalgic trip down memory lane, this bread is a seasonal favorite that brings family and friends together.
---
As the leaves turn golden and the air carries a crispness that only autumn can bring, my kitchen transforms into a hub of warmth and aroma. Fall Apple Yeast Bread, a cherished family tradition, plays a starring role in this seasonal symphony. This recipe, a treasure passed down through generations, not only fills our home with the scent of apples and cinnamon but also with cherished memories of family gatherings.
A Nostalgic Family Tradition
Growing up, the arrival of fall was heralded by the scent of this bread baking in my grandmother's kitchen. I remember her bustling around, her apron dusted with flour and a twinkle in her eye as she taught me the secrets of our family recipe. We would sip apple cider, our laughter mingling with the hum of the oven, as she regaled me with stories of her childhood. The bread, with its sweet, spiced aroma, was more than just a dessert; it was a testament to our heritage, a link to the past, and a promise for the future.
Ingredients:
- Apple cider
- Apples
- Dried/instant yeast
- Eggs
- Flour
- Ground cinnamon
- Orange zest
- Powdered sugar
- Runny honey
- Salt
- Sugar
- Vanilla extract
- Vegetable oil
- Water
Instructions:
1. Start by mixing warm water with oil, honey, and yeast. Let it foam for 10 minutes.
2. Add the rest of the dough ingredients and knead until you have a soft, smooth, and elastic dough (about 8-10 minutes).
3. Place the dough in an oiled bowl, cover, and let it rise for 2 hours until puffy and nearly doubled in size.
4. Grease a 9-inch round cake pan.
5. Toss apple chunks with sugar, cinnamon, and rum.
6. Gently deflate the dough and flatten it into a rough rectangle.
7. Spread half the apple chunks in the center of the dough, fold over, and seal.
8. Spread remaining apple chunks, fold again, and seal.
9. Cut the dough into 16 pieces, tuck in apple chunks, and arrange in the pan.
10. Cover and let it rise for 1-1.5 hours.
11. Preheat oven to 325°F and bake for 55 minutes.
12. Whisk cider and powdered sugar, brush over cooled bread.
Difficulty Rating: 7/10
Classification: Dessert
The process of making this bread is a labor of love. While the steps may seem daunting, the reward is a beautifully golden loaf, bursting with the flavors of fall. The warm, spiced sweetness of the bread is perfect for those cozy family gatherings or as a special treat on a chilly afternoon.
Every time I bake this bread, I'm reminded of the laughter and love that filled my grandmother's kitchen. It's a tradition I now share with my children, hoping to pass on not just a recipe, but a legacy of warmth, family, and the simple joy of baking together. So, gather your loved ones, roll up your sleeves, and let the magic of Fall Apple Yeast Bread fill your home and heart this season.