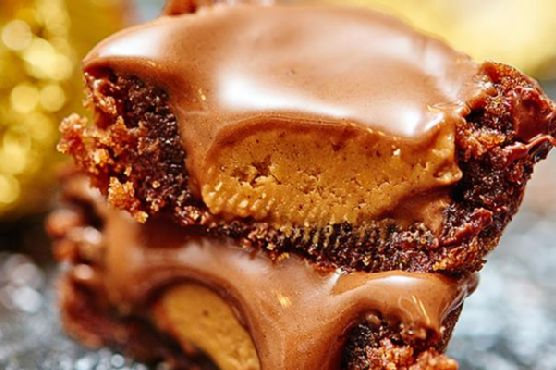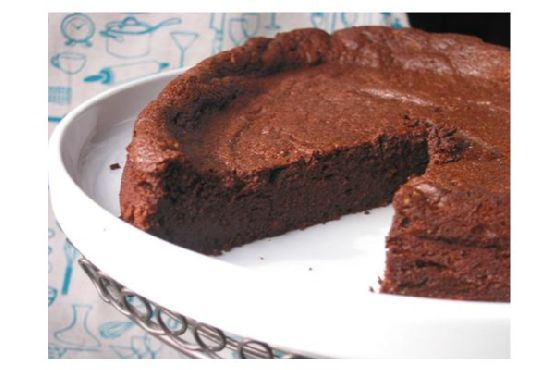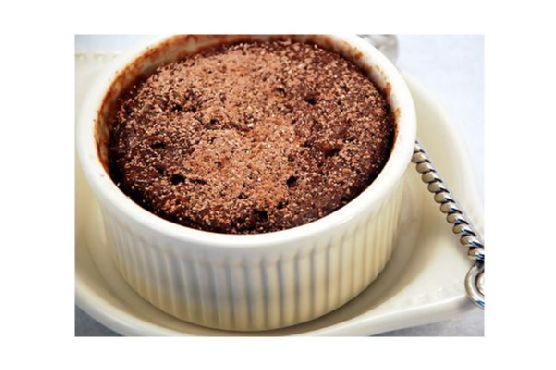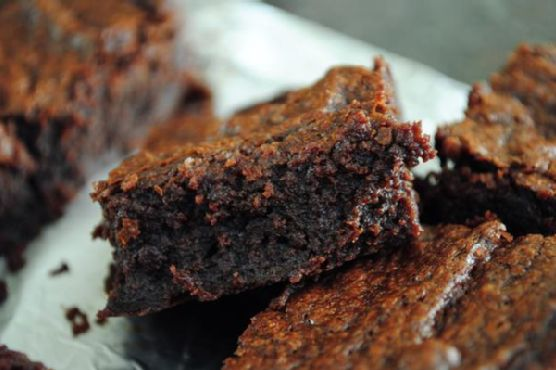
Thick, Fudgy, One Bowl Brownies
Intro
There’s a certain magic in the smell of brownies baking that instantly transports me back to my grandmother’s kitchen. As a child, I would sit perched on a stool, eagerly watching her skillfully mix and pour, the sweet aroma enveloping the room. Those moments were pure bliss, punctuated by the heavenly taste of a freshly baked brownie, still warm and gooey from the oven. It’s this nostalgic memory that inspired me to create my own version of thick, fudgy, one bowl brownies—a recipe that’s as simple as it is delicious.
Why You’ll Love It
These brownies are everything a chocolate lover dreams of—rich, fudgy, and oh-so-chocolatey. Made in just one bowl, this recipe is perfect for those who crave indulgence without the fuss. Whether you’re a seasoned baker or a novice in the kitchen, these brownies will win you over with their simplicity and decadence. Plus, they’re versatile enough for any occasion, from a cozy night in to an elegant dinner party dessert. You’ll love how quickly they come together and the pure satisfaction they bring with every bite.
Ingredients
- Semi-sweet chocolate
- Unsweetened chocolate
- Unsalted butter
- Cocoa powder
- Eggs
- Vanilla extract
- Table salt
- Flour
Instructions
- Adjust an oven rack to the lower-middle position and heat the oven to 350°F.
- Line an 8-inch square baking pan with two pieces of foil and spray with vegetable oil spray.
- Melt the semi-sweet and unsweetened chocolate and butter in a large heatproof bowl set over a saucepan of barely simmering water, stirring occasionally with a spatula or wooden spoon until smooth.
- Remove the bowl from heat and stir in the cocoa powder until smooth. Set aside to cool.
- Once the mixture has cooled, stir in the eggs, sugar, vanilla, and salt until combined.
- Add flour, stirring until just combined.
- Transfer the batter to the prepared pan; spread the batter into the corners and smooth the surface using your spatula.
- Bake until slightly puffed and a toothpick or wooden skewer inserted into the center of the brownies comes out with a few moist crumbs attached, about 35-40 minutes.
- Cool the brownies on a wire rack to room temperature. If you’re impatient like me, even 5 minutes is enough to satisfy a chocolate craving!
- Loosen the edges with a paring knife and lift the brownies from the pan using the foil extensions. Cut the brownies into 1-inch squares and serve.
Tips
For the best results, use high-quality chocolate and cocoa powder. This will enhance the flavor and texture of your brownies. Make sure not to overmix the batter once the flour is added; this can result in a tougher brownie. Also, resist the temptation to cut the brownies too soon after baking; allowing them to cool helps them set properly, making them easier to slice.
Variations & Substitutions
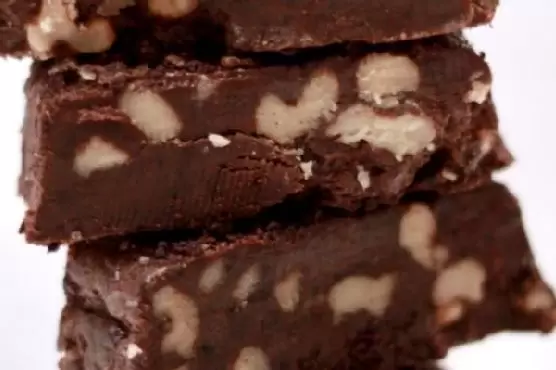
Feel free to customize these brownies to suit your taste. You can add a handful of chopped nuts, such as walnuts or pecans, for some crunch. If you prefer a more intense chocolate flavor, sprinkle some chocolate chips into the batter. For a different twist, try adding a teaspoon of espresso powder to enhance the chocolate flavor. For those who need a gluten-free option, substitute the flour with a gluten-free baking mix.
Storage
Store your brownies in an airtight container at room temperature for up to 4 days. If you want to keep them longer, they can be frozen for up to 3 months. Simply wrap them tightly in plastic wrap and place them in a freezer-safe bag. Thaw at room temperature before serving.
FAQ
Can I double this recipe?
Yes, you can easily double the recipe and bake it in a 9×13-inch pan. Just be sure to adjust the baking time accordingly, checking for doneness around the 45-minute mark.
Can I use milk chocolate instead of semi-sweet?
While you can use milk chocolate, it will result in a sweeter brownie. If you prefer a balanced sweetness, stick with semi-sweet chocolate or adjust the sugar content to taste.
Nutrition
Each serving of these brownies (based on 16 servings) contains approximately:
- Calories: 200
- Fat: 12g
- Saturated Fat: 7g
- Carbohydrates: 24g
- Sugar: 18g
- Protein: 3g
Conclusion
Baking these thick, fudgy, one bowl brownies is not just about indulging in a sweet treat; it’s about creating memories and savoring the joys of homemade comfort food. Whether you’re sharing them with loved ones or enjoying a quiet moment alone, these brownies are sure to bring a smile to your face. So gather your ingredients, roll up your sleeves, and let the magic of baking bring a little warmth to your day.
Related update: Thick, Fudgy, One Bowl Brownies