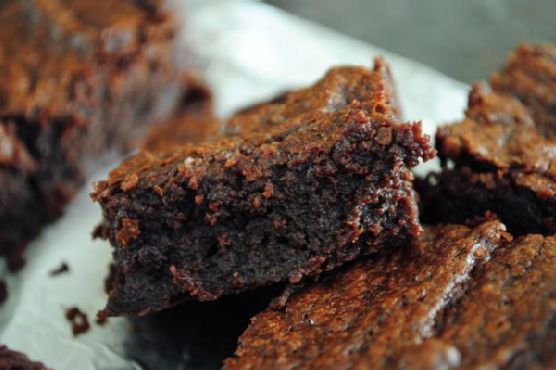
10 Minute Brownies | Made by Meaghan Moineau
Title: Whip Up Delight: 10-Minute Brownies That Bring Back Family MemoriesDescription: Discover the joy of baking with our quick and easy 10-Minute Brownies recipe! This delightful dessert combines rich, chocolaty goodness with a touch of nostalgia. Perfect for any sweet tooth, these brownies are a breeze to make and promise to become a family favorite. Follow our simple steps, and let this dessert bring a smile to your face and warmth to your heart.
---
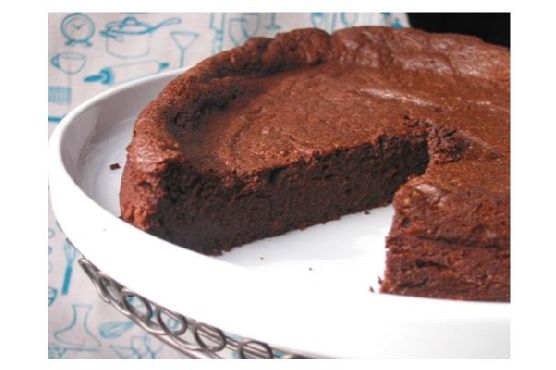
When it comes to desserts that offer comfort and joy in every bite, brownies often top the list. Our 10-Minute Brownies are not just about convenience; they are about creating memories and savoring the sweet moments that life has to offer. With simple ingredients like semisweet chocolate chips, unsweetened applesauce, and finely-chopped walnuts, these brownies are both delicious and reminiscent of cherished family gatherings.
Ingredients You'll Need
- Baking Powder
- Canola Oil
- Finely-Chopped Walnuts
- Semisweet Chocolate Chips
- Sugar
- Unbleached Flour
- Unsweetened Applesauce
- Vanilla Extract
Instructions
1. Preheat your oven to 350 degrees F. Lightly oil a 6 x 9-inch baking pan and set it aside.
2. In a small saucepan over low heat, combine the canola oil and semisweet chocolate chips. Stir occasionally until the chocolate is melted. Remove from heat and set aside.
3. In a large bowl, add the unsweetened applesauce, sugar, and vanilla extract. Blend well.
4. Stir in the melted chocolate mixture. Whip and blend thoroughly.
5. Add the unbleached flour, baking powder, and finely-chopped walnuts. Mix just until combined.
6. Spoon the batter into the prepared baking pan.
7. Bake for 25 to 30 minutes, or until the top springs back when lightly touched. Be cautious not to overbake, as this will make the brownies dry.
8. Let the brownies cool completely before cutting them into squares. Store in a covered, airtight container in the refrigerator.
A Sweet Family Memory
As I watch the chocolate melt and blend with the rich aroma of vanilla, I am transported back to my grandmother's cozy kitchen. Every Sunday, our family would gather at her house, and the highlight of the day was always her famous brownies. I remember sitting on the counter, my legs swinging as I eagerly waited to lick the batter off the spoon. Grandma would wink at me and say, "The secret ingredient is love." These brownies were more than just a treat; they were the sweet thread that wove our family together, creating a tapestry of laughter and love.
Difficulty Rating: 3/10
Classification: Dessert
These 10-Minute Brownies are a testament to the magic that happens when simple, wholesome ingredients are combined with a sprinkle of nostalgia. Whether you're baking for a family gathering or simply treating yourself, this recipe promises to deliver rich, chocolaty goodness in every bite. So, don your apron, and let these brownies bring a touch of sweetness to your day!