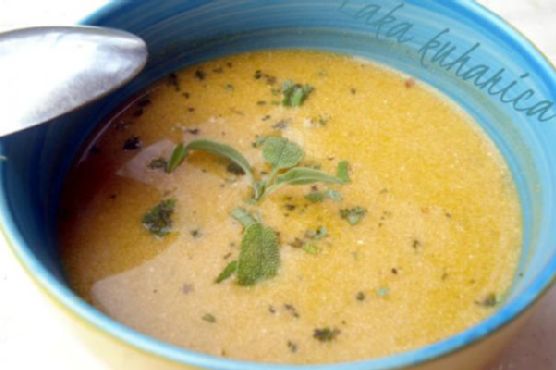
Pumpkin soup with wine | Made by Meaghan Moineau
Title: Cozy Autumn Evenings: A Nostalgic Bowl of Pumpkin Soup with WineDescription: Dive into the warmth of autumn with our delightful Pumpkin Soup with Wine. This creamy, aromatic soup captures the essence of fall and adds a touch of sophistication with a splash of red wine. Perfect as a comforting main dish, this recipe brings together the sweetness of roasted muscat pumpkin, the richness of cream, and the earthiness of fresh sage. Join me as I share the story behind this cherished family recipe, a nostalgic tribute to cozy evenings and cherished moments.
---
As the leaves begin to change color and the air turns crisp, there's nothing quite like the comforting embrace of a warm bowl of soup. Our Pumpkin Soup with Wine is more than just a dish; it's a family tradition, a symbol of togetherness during the cozy autumn months.
I remember, as a child, the anticipation that filled our home as we prepared for our annual family harvest celebration. My grandmother, the heart of our family, would always be at the center of the kitchen, orchestrating a symphony of flavors and aromas. Among her many culinary masterpieces, her pumpkin soup with wine was always the star of the show.
The preparation of the soup was an event in itself. We would gather together, my brothers and I, to help cut the muscat pumpkin into large, rustic chunks. The vibrant orange of the pumpkin, a visual testament to the season, brought a sense of joy and anticipation. Lined on a baking sheet and drizzled with oil, the pumpkin was roasted to perfection, filling the house with an inviting, sweet aroma.
Once the pumpkin was fork-tender and golden, it was time for the magic to happen. My grandmother would blend the roasted chunks into a smooth, velvety puree, a task she entrusted to me once I was old enough to handle the blender. This was my favorite part, watching the transformation of the humble pumpkin into a luxurious base for our soup.
Into the pot went the pumpkin puree, followed by a generous splash of cream and sour cream, creating a rich and creamy texture. The addition of vegetable stock, made conveniently from a cube, added depth to the flavor, while a splash of red wine introduced a touch of elegance and complexity.
As the soup simmered gently, filling the house with its irresistible fragrance, my grandmother would add the final touch: freshly chopped sage leaves, their earthy aroma a perfect complement to the sweet pumpkin and wine. Served with homemade croutons, the soup was a bowl of pure comfort, each spoonful a warm hug on a chilly evening.
This pumpkin soup with wine is more than just a recipe; it's a beloved family tradition, a reminder of those cherished evenings spent together, laughing and sharing stories around the table. It's a dish that brings us back to the simple joys of life, to the warmth of family and the beauty of autumn.
Difficulty: 4/10
Classification: Main Dish
So, as you savor this delightful pumpkin soup, may it bring warmth to your home and create new memories for you and your loved ones. Enjoy the flavors, embrace the nostalgia, and let this dish be a part of your family's autumn tradition.