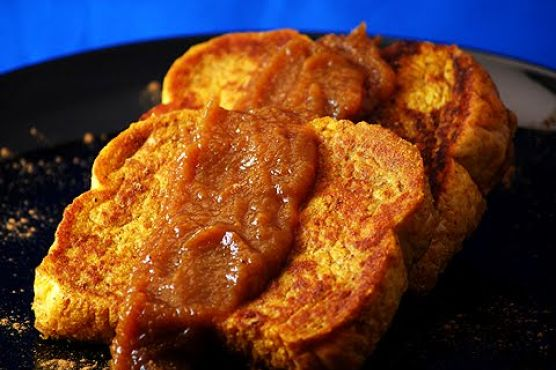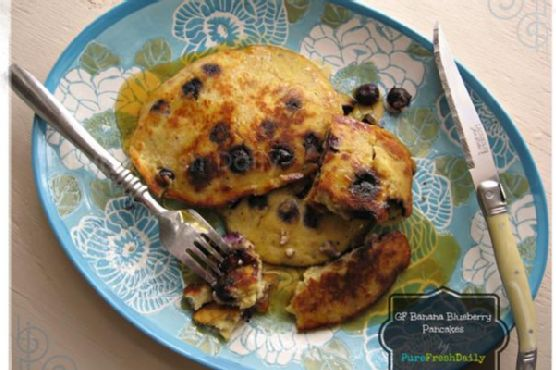
Banana Blueberry Pancakes
Intro
There’s something truly magical about starting your day with a stack of warm, fluffy pancakes. For me, banana blueberry pancakes bring back memories of cozy weekend mornings spent in my grandmother’s kitchen. The sweet scent of bananas mingling with the sharp tartness of blueberries filled the air as we eagerly awaited the first batch. Now, I’m thrilled to share this recipe with you so you can create your own cherished breakfast traditions.
Why You’ll Love It
These banana blueberry pancakes are not just a treat for the taste buds but also a wholesome start to your day. They combine the natural sweetness of ripe bananas with the burst of flavor from blueberries. The use of coconut flour makes them a nutritious alternative to regular pancakes, offering a delightful texture that’s both light and satisfying. Plus, they’re easy to make and perfect for a quick weekday breakfast or a leisurely weekend brunch.
Ingredients
- 4 whole eggs
- 1 cup water
- 2 tablespoons liquid coconut oil
- ½ cup coconut flour
- 1 teaspoon cream of tartar
- 1 teaspoon ground cinnamon
- 2 ripe bananas, mashed
- 1 cup frozen blueberries
Instructions
- Beat the eggs for 1 minute until they are light and frothy.
- Add the water, liquid coconut oil, and coconut flour. Whisk the mixture until combined.
- Allow the batter to sit for 5 minutes to let the coconut flour absorb and expand.
- Add the cream of tartar, cinnamon, and mashed bananas to the batter and whisk until smooth.
- Gently fold in the frozen blueberries using a spatula.
- Heat oil, butter, or a combination of both in a skillet over medium to low heat.
- Ladle ½ cup of the batter onto the skillet for each pancake.
- Cook for about 5 minutes on one side, then carefully flip the pancake to cook the other side until golden brown.
- Repeat the steps until you have made 8 pancakes.
- Serve hot, drizzled with maple syrup.
Tips
For the best results, make sure your bananas are overripe, as they will add extra sweetness and moisture to the pancakes. If your batter seems too thick, feel free to add a little more water to reach your desired consistency. It’s also important to cook the pancakes over medium to low heat to ensure they cook evenly and don’t burn.
Variations & Substitutions
If you don’t have coconut flour on hand, almond flour can be a great alternative, though the texture will be slightly different. You can also substitute fresh blueberries for frozen ones if they’re in season. For a nutty twist, add a handful of chopped walnuts or pecans to the batter.
Storage
These pancakes can be stored in an airtight container in the refrigerator for up to 3 days. For longer storage, freeze them by placing parchment paper between each pancake and sealing them in a freezer bag. Reheat in the microwave or toaster for a quick breakfast option.
FAQ
Can I make the batter ahead of time?
It’s best to prepare the batter just before cooking to maintain the freshness and texture of the pancakes. However, you can mix the dry ingredients and store them separately, then combine with the wet ingredients when you’re ready to cook.
Are these pancakes suitable for a gluten-free diet?
Yes, these banana blueberry pancakes are gluten-free as they use coconut flour, which is a great alternative to traditional wheat flour.
Nutrition
Each serving of these pancakes provides a good source of protein from the eggs and a boost of vitamins and antioxidants from the blueberries and bananas. Coconut flour adds healthy fats and fiber, making these pancakes a nutritious breakfast choice.
Conclusion
Banana blueberry pancakes are a wonderful way to start your day with something delicious and nutritious. Whether you’re making these for a special occasion or just a regular morning, they’re sure to bring a smile to your face. So gather your ingredients, put on your apron, and enjoy the delightful process of making these pancakes. You might just find they become a beloved staple in your morning routine!
Related update: Banana Blueberry Pancakes
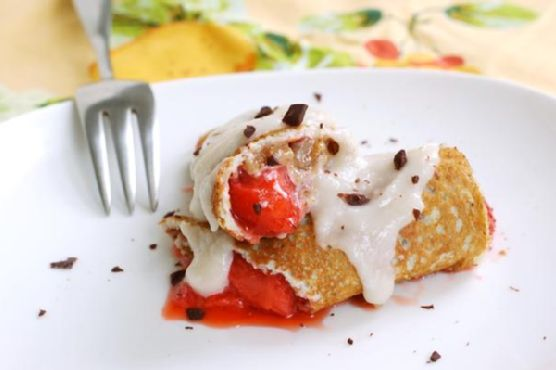
Related update: Peach Carrot Coconut Vegan Pancake
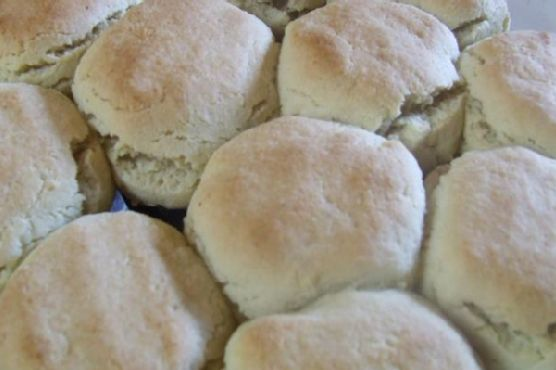
Related update: Raspberry Thumbprint Wholewheat Scones With Macadamia Nuts