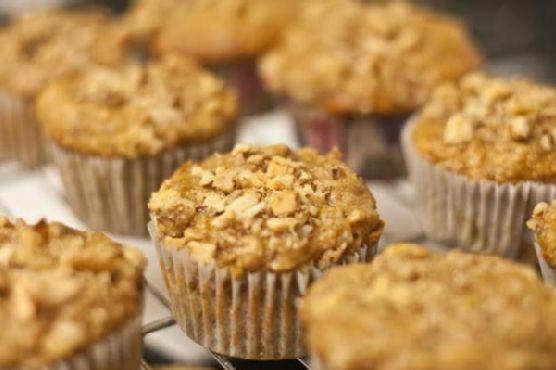
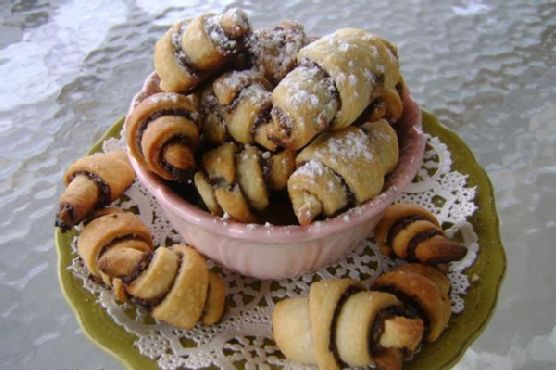
Medenjaci – Croatian Honey Spice Cookies
Intro
There’s something incredibly comforting about the aroma of spices wafting through the house, especially during the cooler months. Medenjaci, traditional Croatian honey spice cookies, are a delightful treat that encapsulates the essence of warmth and nostalgia. I remember making these with my grandmother in her cozy kitchen, the air filled with laughter and the sweet scent of honey and spices. These cookies not only hold a special place in my heart but also in the heart of Croatian culinary tradition.
Why You’ll Love It
Medenjaci are the perfect blend of sweetness and spice. The combination of honey, cinnamon, cloves, nutmeg, and ginger creates a symphony of flavors that dance on your palate. These cookies are not only delicious but also versatile—they can be enjoyed with a cup of tea, coffee, or even a glass of milk. Their slightly crisp exterior and soft, chewy interior make them irresistible. Plus, they keep well, making them an ideal treat to prepare in advance for gatherings or as a thoughtful homemade gift.
Ingredients
- Butter
- Demerara sugar
- Honey
- Eggs
- Baking soda
- Ground cinnamon
- Ground cloves
- Ground nutmeg
- Powdered ginger
- Flour
- Whole wheat flour
- Cake flour
- Whole walnut kernels
Instructions
- Heat the butter, sugar, and honey in a saucepan over low heat, stirring constantly, until the sugar and butter have melted completely. Set aside to cool for about 10 minutes.
- In a small bowl, lightly whisk the eggs.
- In a large bowl, mix and combine the baking soda, ground cinnamon, ground cloves, ground nutmeg, powdered ginger, all-purpose flour, whole wheat flour, and cake flour.
- Add the lightly beaten eggs and the flour and spice mixture to the cooled honey, sugar, and butter mixture. Mix and combine to obtain a smooth and soft dough.
- Cover the dough with foil and leave it in a cool place for 1-3 days to allow the flavors to meld and the dough to firm up.
- Once ready, divide and roll the dough into long rolls approximately 1.5 cm in diameter, then cut them into smaller rolls.
- Shape each roll into a walnut-sized ball and place them, a few centimeters apart, on a baking sheet lined with parchment paper or a silicon sheet.
- Insert a quarter of a walnut kernel halfway into the top of each cookie.
- Bake in a preheated oven at 190°C (374°F) for 10-12 minutes, or until the cookies are golden brown.
- Allow the cookies to cool completely before storing them in an airtight container.
Tips
For the best medenjaci, ensure that your spices are fresh to maximize their flavor. Be patient and allow the dough to rest for at least a day—this step is essential for developing the cookies’ signature taste. If you notice the dough is too sticky when rolling, lightly flour your hands and the working surface.
Variations & Substitutions
While the traditional recipe is delightful, feel free to experiment! You can substitute the demerara sugar with brown sugar for a softer texture. For a nut-free version, omit the walnut kernels or replace them with seeds such as pumpkin or sunflower seeds. If you prefer a spicier kick, increase the amount of ginger or add a pinch of black pepper.
Storage
Store medenjaci in an airtight container at room temperature for up to two weeks. For longer storage, freeze the cookies in a freezer-safe container for up to three months. Simply thaw them at room temperature when you’re ready to enjoy.
FAQ
Can I make the dough ahead of time?
Yes, the dough can be prepared 1-3 days in advance and stored in a cool place. This resting period allows the flavors to deepen and results in a more aromatic cookie.
What can I serve with medenjaci?
Medenjaci pair beautifully with warm beverages such as tea, coffee, or mulled wine. They also make a lovely addition to a holiday cookie platter.
Are these cookies suitable for those with dietary restrictions?
While medenjaci are not gluten-free, you can experiment with gluten-free flour blends. For a dairy-free version, substitute the butter with a plant-based alternative.
Nutrition
While medenjaci are a treat, they offer the benefits of honey, which is rich in antioxidants. However, it’s important to enjoy them in moderation as part of a balanced diet.
Conclusion
Medenjaci are more than just cookies; they are a taste of Croatian heritage, a reminder of cozy kitchens filled with love and laughter. Whether you’re making these for a festive occasion or simply to enjoy with your afternoon tea, I hope they bring warmth and joy to your home. Happy baking!
Related update: Medenjaci – Croatian Honey Spice Cookies
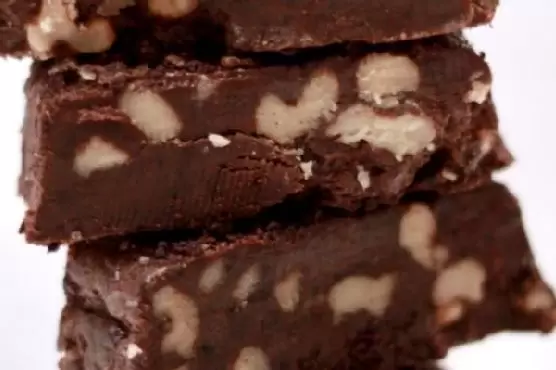
Related update: PB Cup Stuffed Brownie Bites