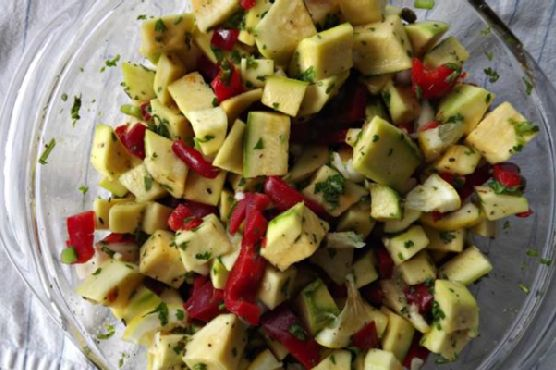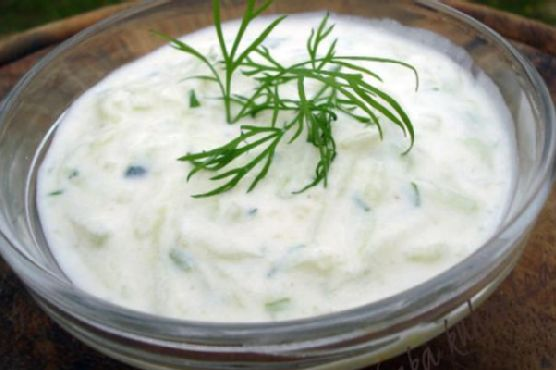
Thai Cucumber Salad (By Roz)
Intro
Welcome to my kitchen! Today, I’m thrilled to share with you a recipe that’s close to my heart: Thai Cucumber Salad. This dish takes me back to my travels through Thailand’s vibrant markets, where the air was filled with the tantalizing aromas of fresh herbs and spices. I remember the friendly locals teaching me the art of balancing flavors, a skill essential to Thai cuisine. This salad is a celebration of those cherished memories, and I’m excited to bring a taste of Thailand to your home.
Why You’ll Love It
If you’re a fan of dishes that are quick, easy, and bursting with flavor, this Thai Cucumber Salad is for you. It perfectly balances sweet, spicy, tangy, and savory elements, making it a refreshing side dish or a light main course. This salad is not only delicious but also incredibly versatile, allowing you to customize it to your taste preferences. Plus, it’s a great way to impress friends and family with a dish that’s both simple and exotic.
Ingredients
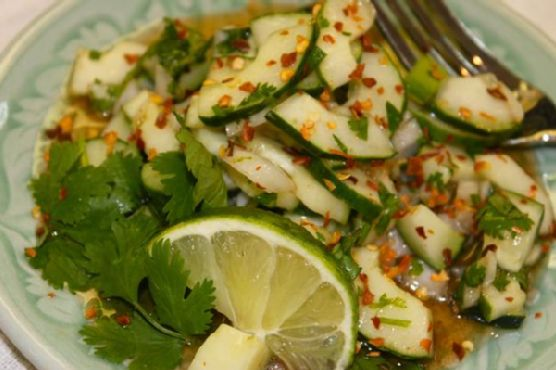
- Cilantro
- Canned cucumbers
- Jalapeno pepper
- Lime juice
- Lime zest
- Red white onions
- Red pepper flakes
- Rice wine vinegar
- Dry unsalted chopped roasted peanuts
- Salt
- Coconut oil
- Sesame oil
- Soy sauce
- Sugar
- Thai garlic chili pepper sauce
- White pepper
Instructions
- Blend all the dressing ingredients together: lime juice, lime zest, rice wine vinegar, coconut oil, sesame oil, soy sauce, sugar, Thai garlic chili pepper sauce, and a pinch of white pepper.
- Mix in all of the chopped vegetables: canned cucumbers, jalapeno pepper, red white onions, and cilantro.
- Add in the dry unsalted chopped roasted peanuts, if desired, for a delightful crunch.
- Taste and adjust the flavors, adding more lime, sugar, soy sauce, or chili sauce as preferred, embracing the true Thai way of flavor balancing.
- Garnish each plate with fresh cilantro leaves and sliced limes.
- Serve with a platter of add-ins such as lime slices, red pepper flakes, chopped cilantro, chopped peanuts, Thai sweet chili sauce, sugar, and salt, allowing your guests to customize their salad.
Tips
For the best flavor, prepare the salad fresh. However, you can blend the dressing in advance and store it in the refrigerator for up to a week. This way, you can whip up the salad in no time whenever you’re ready to serve. If you prefer a milder salad, remove the seeds from the jalapeno before chopping. Remember, the key to a great Thai salad is balancing the flavors to suit your palate, so don’t hesitate to taste and adjust as you go.
Variations & Substitutions
This salad is wonderfully adaptable. You can substitute fresh cucumbers for canned ones if you prefer more crunch. For a nut-free version, simply omit the peanuts or replace them with toasted sunflower seeds. If you like more heat, swap the jalapeno for a spicier chili pepper or increase the amount of Thai garlic chili pepper sauce. For a touch of sweetness, add sliced mango or pineapple to the salad.
Storage
While this salad is best enjoyed fresh, you can store any leftovers in an airtight container in the refrigerator for up to two days. Keep the dressing separate if you plan to store it longer, as the vegetables may become soggy if left dressed for too long.
FAQ
Can I use fresh cucumbers instead of canned?
Absolutely! Fresh cucumbers will add a nice crunch to the salad. Just make sure to slice them thinly for the best texture.
Is there a way to make the salad less spicy?
Yes, if you prefer a milder salad, you can reduce or omit the jalapeno pepper and Thai garlic chili pepper sauce. Removing the seeds from the jalapeno also helps reduce the heat.
Can I make this salad vegan?
This salad is already vegan! Just ensure that the soy sauce you use is vegan-friendly, as some brands may contain animal products or by-products.
Nutrition
This Thai Cucumber Salad is a light and healthy dish. It’s low in calories and rich in vitamins from the fresh vegetables and herbs. The peanuts provide a source of healthy fats and protein, making it a nutritious choice that fits well into a balanced diet.
Conclusion
Thank you for joining me on this culinary journey to Thailand with my Thai Cucumber Salad. It’s a dish that embodies the vibrant flavors and spirit of Thai cuisine, bringing a touch of exotic flair to your table. I hope you enjoy making it as much as I do and that it becomes a beloved recipe in your kitchen. Whether you serve it as a refreshing side dish or a light meal, this salad is sure to impress and delight. Happy cooking!
Related update: Thai Cucumber Salad (By Roz)
Related update: Dairy Free Chicken Salad