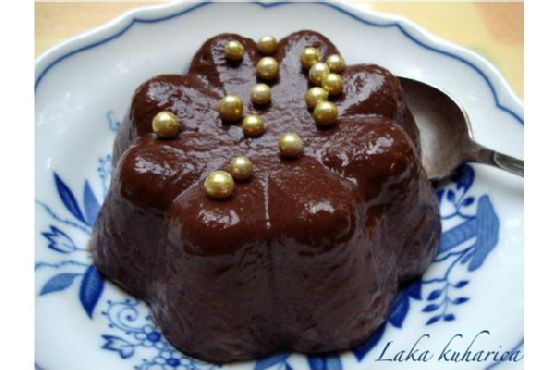
Orange Chocolate Cake | Made by Meaghan Moineau
Title: A Taste of Nostalgia: The Irresistible Orange Chocolate CakeDescription: Dive into the delightful world of our Orange Chocolate Cake, a symphony of citrus and chocolate that promises to enchant your taste buds. Follow our easy-to-understand recipe, infused with a sprinkle of family nostalgia, and create a dessert that’s sure to become a cherished favorite.
---
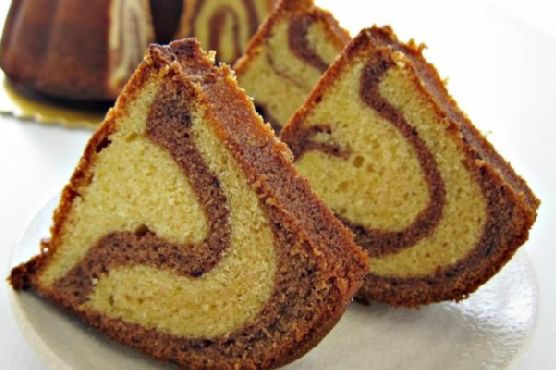
A Slice of Memory: Orange Chocolate Cake
When I think of family gatherings, the rich aroma of Orange Chocolate Cake is one of the first things that comes to mind. This delightful dessert has been a staple at our family reunions for as long as I can remember. The tradition started with my grandmother, who would bake this cake with love and a little help from her curious grandchildren. Every step of the process was a lesson in patience and precision, but mostly, it was about creating memories that would last a lifetime.
Ingredients:
- 1 tsp baking powder
- ½ tsp baking soda
- 1 cup butter, softened
- 3 large eggs
- 2 cups flour
- 1 cup sour plain natural yoghurt
- ¼ cup fresh orange juice
- 1 tbsp orange rind, finely grated
- ½ tsp salt
- 1 cup semi-sweet chocolate, melted
- 2 cups caster sugar
- 1 tsp vanilla extract
Instructions:
1. Preheat and Prep: Preheat your oven to 175°C (350°F). Grease a 9-inch bundt pan and dust with flour or use a non-stick spray to ensure an easy release.
2. Creaming the Butter: Beat butter until smooth. Gradually add in caster sugar, continuing to beat until the mixture is creamy and fluffy.
3. Incorporate Eggs: Add the eggs one at a time, mixing well after each addition. Stir in the freshly grated orange rind, orange juice, and vanilla extract, and blend at a low speed until well combined.
4. Alternate Mixing: Split the dry ingredients (flour, baking powder, baking soda, and salt) into four portions. Similarly, divide the sour yoghurt into three portions. Alternate adding the flour mixture and yoghurt to the batter, beginning and ending with the flour. Beat well after each addition to ensure a smooth consistency.
5. Chocolate Swirl: Take half of the batter and gently fold it into the melted semi-sweet chocolate. Be careful not to over mix.
6. Layer the Batter: Scoop plain and chocolate batters alternately into the prepared bundt pan. Give the pan a gentle shake to settle the batter evenly.
7. Bake to Perfection: Bake for 50-60 minutes or until a skewer inserted into the cake comes out clean. Let the cake cool in the pan for about 20 minutes before unmolding. Allow it to cool completely on a wire rack.
A Nostalgic Note:
As the cake bakes, the kitchen fills with the scent of chocolate and citrus. It’s a smell that transports me back to my grandmother's kitchen, where laughter and love were the main ingredients. I remember her saying, “The secret to a good cake is all in the details—and a little bit of heart.”
Difficulty: 6/10
Classification: Dessert
This Orange Chocolate Cake is more than just a dessert; it's a bridge to the past, a reminder of family ties and the sweet simplicity of sharing a homemade treat. Whether you're making it for a special occasion or just to enjoy with a cup of tea, this cake is sure to bring joy to your table and perhaps inspire a new tradition in your family.
So, go ahead, bake this cake, and create your own slice of nostalgia.