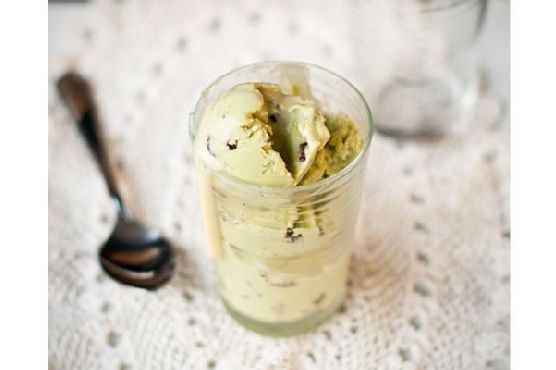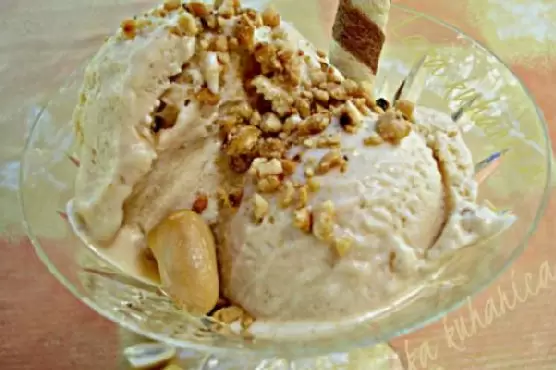
Peanut butter ice cream | Made by Meaghan Moineau
Title: Indulge in Nostalgia with Homemade Peanut Butter Ice Cream
Description: Dive into a creamy, dreamy world of flavors with our homemade Peanut Butter Ice Cream recipe. Perfect for those who appreciate the simple joys of life, this dessert is a delightful blend of rich peanut butter and smooth vanilla cream, topped with crunchy peanuts and bold chocolate bits. Relive cherished family memories as you scoop up this delicious treat, crafted with love and a dash of nostalgia.
—
A Taste of Memory: Reliving Summers with Peanut Butter Ice Cream
There’s something inherently magical about homemade ice cream. It’s not just about the rich, creamy texture or the delightful burst of flavors swirling in your mouth. It’s about the stories and memories that each scoop brings back to life. For me, peanut butter ice cream is a direct ticket to my childhood summers spent at my grandparents’ house.
Every year, as soon as the school year ended, my siblings and I would pile into the car and make the long drive to my grandparents’ cozy cottage by the lake. The moment we arrived, Grandma would greet us with her warm smile and a promise of her famous peanut butter ice cream. It was a family tradition, a recipe she had perfected over the years, and one that she claimed held the secret to happiness.
Ingredients:
– 2 cups milk
– ¾ cup sugar
– ¼ teaspoon salt
– 2 large eggs
– 1 cup smooth peanut butter
– 2 cups heavy cream
– 1 teaspoon vanilla extract
– ½ cup unsalted peanuts, chopped
– ½ cup bits of bitter chocolate
Instructions:
1. In a saucepan, combine milk, sugar, and salt. Cook over medium heat, stirring occasionally until the mixture is almost boiling. Reduce the heat to low.
2. In a separate bowl, beat the eggs with a hand mixer or whisk for 2 minutes until frothy. Gradually stir about ½ cup of the hot milk mixture into the beaten eggs.
3. Add the egg mixture back into the saucepan with the remaining milk mixture. Cook over low heat, stirring constantly until slightly thickened, about 2-3 minutes. Remove from heat.
4. Whisk in the peanut butter and mix well. Refrigerate the mixture for at least 3 hours.
5. After chilling, combine the cream and vanilla extract with the chilled mixture, stirring with a whisk.
6. Pour the mixture into an ice cream machine and churn until frozen.
7. Transfer the ice cream to a plastic container and place in the freezer for an hour before serving.
Serving Suggestions:
Before serving, take the ice cream out of the freezer for 5-10 minutes to reach the perfect scooping temperature. Sprinkle with chopped peanuts and chocolate bits for an extra layer of texture and flavor. For the best experience, serve in chilled glass or porcelain bowls. Use a hot, dry ice-cream spoon (soak it in boiling water, then wipe dry) to scoop.
Difficulty Rating: 5/10
Classification: Dessert
As I scoop the ice cream into bowls, I am reminded of sitting on the porch with my siblings, each of us competing to see who could make their ice cream last the longest. The sound of the lake, the warm summer breeze, and the laughter of family created a symphony of happiness that I often long for in the hustle and bustle of adult life.
This peanut butter ice cream is more than just a dessert; it’s a portal to cherished memories and a reminder of the simple joys of life. Whether you’re making it for the first time or the hundredth, I hope this recipe brings a piece of my childhood to your table and fills your home with warmth, love, and laughter.
Related update: Coconut Guava Ice cream