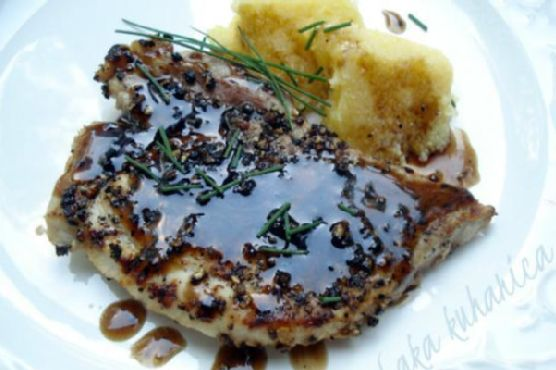
Easy Baked Pork Chop
Intro
There’s something truly comforting about a family recipe, and this Easy Baked Pork Chop dish has been a staple in my family for generations. I remember the first time my grandmother taught me how to prepare it. I was just a little girl, barely able to see over the kitchen counter, peering with wide eyes as she expertly mixed the marinade. The aroma that filled the kitchen was unforgettable, and the taste was even better. Now, I’m thrilled to share this beloved recipe with you, hoping it brings as much joy to your kitchen as it has to ours.
Why You’ll Love It
This Easy Baked Pork Chop recipe is a must-try for several reasons. It’s incredibly simple, requiring just a handful of ingredients that you likely already have in your pantry. The preparation is quick, making it a perfect weeknight meal. Despite its simplicity, the flavors are rich and satisfying, offering a perfect balance of savory and tangy notes. Whether you’re cooking for your family or hosting friends, this dish is sure to impress without the stress.
Ingredients
- Ketchup
- Lemon juice
- Cut pork chops
- Soy sauce
- Vegetable oil
- Worcestershire sauce
Instructions
- Preheat your oven to 350°F (175°C).
- In a small bowl, mix together soy sauce, Worcestershire sauce, ketchup, vegetable oil, and lemon juice.
- Rinse your pork chops and place them in a glass baking dish.
- Pour half of the mixture over the top of the pork chops.
- Bake for 30 minutes.
- Remove from oven, turn over the pork chops, and cover with the remaining mixture.
- Bake for an additional 30 minutes.
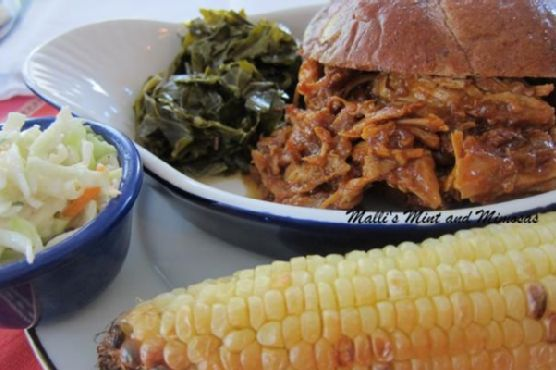
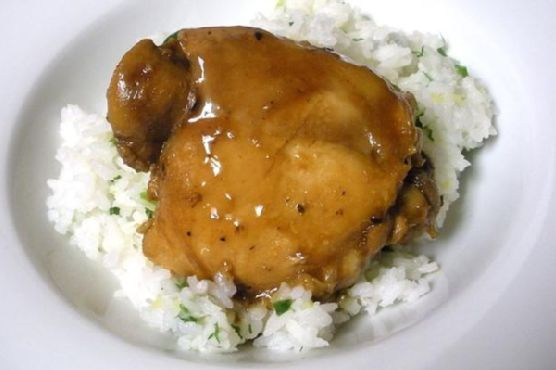
- Serve with a side of salad, mashed potatoes, and bread for a complete meal.
Tips
To ensure your pork chops are tender and juicy, avoid overbaking them. Use a meat thermometer to check that the internal temperature reaches 145°F (63°C). Allow the chops to rest for a few minutes before serving to retain their juices.
Variations & Substitutions
Feel free to experiment with this recipe. You can substitute honey or brown sugar for a hint of sweetness in the marinade. For a spicier kick, add a pinch of red pepper flakes or a dash of hot sauce. If you prefer a different protein, this marinade works beautifully with chicken breasts or thighs.
Storage
Store any leftover pork chops in an airtight container in the refrigerator for up to 3 days. To reheat, place them in a preheated oven at 350°F (175°C) until warmed through, or use a microwave for a quicker option.
FAQ
Can I use bone-in pork chops for this recipe?
Yes, bone-in pork chops will work beautifully. They often have more flavor and can remain juicier during cooking. Just be sure to adjust the cooking time slightly to ensure they cook through.
Can I marinate the pork chops overnight?
Absolutely! For even more flavor, you can marinate the pork chops in the mixture overnight in the refrigerator. Just cover the baking dish with plastic wrap or transfer the ingredients to a resealable plastic bag.
What can I serve with baked pork chops?
This dish pairs well with a variety of sides such as roasted vegetables, a fresh garden salad, or classic mashed potatoes. Adding a crusty loaf of bread can make it a hearty meal.
Nutrition
If you’re mindful of your dietary intake, here’s a rough nutritional breakdown per serving: approximately 250 calories, 12g of fat, 4g of carbohydrates, and 30g of protein. These values may vary based on the size and type of pork chops used.
Conclusion
This Easy Baked Pork Chop recipe is more than just a meal; it’s a piece of family history that I’m excited to share with you. It’s a dish that brings warmth, comfort, and flavorful joy to any table. Whether you’re a seasoned cook or a kitchen novice, this recipe is sure to become a favorite in your home, just as it has been in ours. Enjoy!
Related update: Easy Baked Pork Chop
Related update: 3 Cheese Ravioli