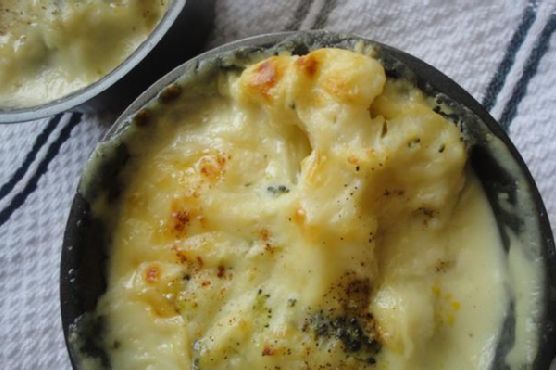
Cauliflower and Broccoli Gratin With Camembert Cheese | Made by Meaghan Moineau
Title: A Taste of Home: Cauliflower and Broccoli Gratin with Camembert CheeseDescription: Dive into the comforting embrace of a classic family favorite, Cauliflower and Broccoli Gratin with Camembert Cheese. This delectable dish combines creamy Camembert with wholesome veggies, crowned with a golden breadcrumb crust. Embark on a culinary journey that blends nostalgia with modern flavors, perfect for a cozy dinner or as a star side dish.
---
There's something inherently comforting about a warm, cheesy gratin. For me, this Cauliflower and Broccoli Gratin with Camembert Cheese isn't just a dish—it's a cherished memory, lovingly resurrected from my childhood. Growing up, my grandmother had a way of turning simple ingredients into something magical, and this gratin was her pièce de résistance.
Ingredients:
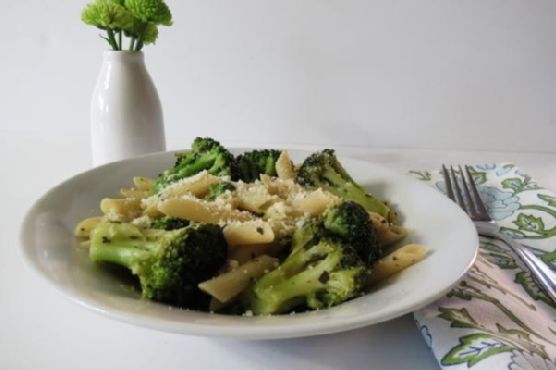
- 1 head of cauliflower, cut into florets
- 1 head of broccoli, cut into florets
- 3 tablespoons of butter
- 2 tablespoons of flour
- 2 cups of milk
- 200g Camembert cheese, cut into cubes (plus extra for topping)
- Salt and pepper to taste
- 1 cup of breadcrumbs
Instructions:
1. Preheat Your Oven: Set your oven to 180°C (350°F) to get it ready for your delicious creation.
2. Parboil the Vegetables: In a large pot, parboil the cauliflower and broccoli for about 10-15 minutes, just until tender. Drain and set aside.
3. Prepare the Cheese Sauce: In a medium saucepan, melt the butter over medium heat. Stir in the flour to form a smooth paste. Gradually add milk, stirring constantly until thickened. Add the cubed Camembert and stir until melted and smooth. Season with salt and pepper to your liking.
4. Combine and Assemble: Gently combine the cheese sauce with the parboiled vegetables. Transfer the mixture to a baking dish and top with extra Camembert cubes and breadcrumbs for that perfect crust.
5. Bake to Perfection: Place the dish in the oven and bake for 20 minutes or until the top is golden brown.
A Family Memory
Every Sunday, our family gathered at my grandmother's house for dinner. The air was filled with laughter, stories, and the mouth-watering aroma of her legendary gratin. I remember sitting at the kitchen table, watching her skillfully layer the dish with love and attention. Her secret was the Camembert cheese, which she insisted added an extra layer of creamy, tangy richness that no other cheese could match.
As a child, helping her sprinkle the breadcrumbs was my self-appointed task. I took immense pride in ensuring every inch was evenly covered. When the gratin emerged from the oven, bubbly and golden, it was the centerpiece of our meal—served with stories from the past week and dreams for the future.
Difficulty Rating: 4/10
Classification: Main Dish
This Cauliflower and Broccoli Gratin with Camembert Cheese is more than just a recipe; it's a family heirloom, passed down with love and cherished memories. Whether you're recreating a piece of your past or crafting new traditions, this dish promises warmth, comfort, and a touch of elegance to any meal. Enjoy the journey of flavors, and may it bring you the same joy it has brought my family for generations.