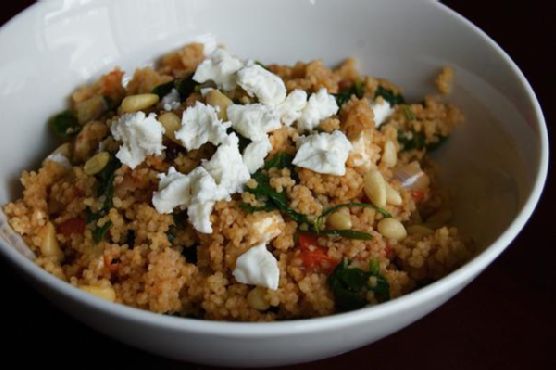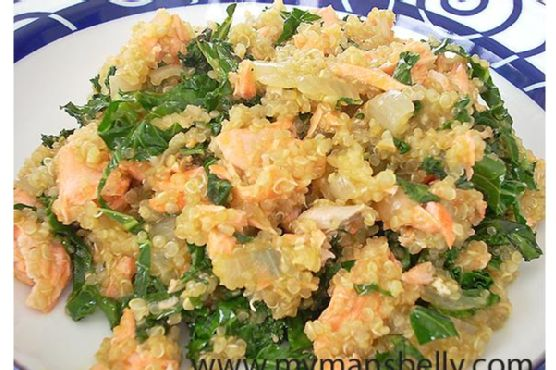
Salmon Quinoa Risotto
Intro
Ah, the comforting embrace of a hearty risotto! Growing up, my grandmother’s kitchen was the heart of our family gatherings, where the aroma of her simmering risottos would fill the room and our hearts. I’ve always cherished those moments, and today, I’m thrilled to share a modern twist on a classic dish: Salmon Quinoa Risotto. This dish combines the rich, nutty flavors of quinoa with the fresh, vibrant notes of poached salmon and kale. It’s a symphony of textures and tastes, perfect for any occasion.
Why You’ll Love It
This Salmon Quinoa Risotto is a delightful blend of healthy and delicious. Here’s why you’ll fall in love with it:
- Nutritious: Packed with protein from both quinoa and salmon, and loaded with vitamins from kale, this dish is as healthy as it is tasty.
- Simple Ingredients: All the ingredients are easy to find and likely already in your pantry or fridge.
- Versatile: It works as a comforting weeknight dinner or a sophisticated dish for entertaining guests.
- Quick to Prepare: With a little prep, this dish comes together in less than an hour.
Ingredients
- 1 cup quinoa
- 1 diced onion
- 2 cups chopped kale
- 2 garlic cloves, chopped
- 3 tablespoons olive oil, divided
- 1 cup poached salmon, flaked
- 3 cups vegetable stock
- Salt, to taste
- 1 bell pepper, diced
Instructions
- In a 4-quart saucepan, heat 2 tablespoons of olive oil over medium-high heat. When the oil is shimmering, add the diced onion.
- Sauté the onion until it’s transparent.
- Add quinoa to the onion mixture and stir, toasting the quinoa for 2 minutes.
- Add 1 cup of vegetable stock to the quinoa and onions. Stir until the stock is absorbed.
- Once the stock is absorbed, add another cup of stock. Continue stirring until the stock is absorbed.
- Add the remaining stock in 1/2 cup intervals, stirring until all the stock is absorbed. Remove from heat.
- While preparing the onion quinoa mixture, heat 1 tablespoon of oil in a sauté pan with the chopped garlic over medium-high heat.
- Once the garlic is sizzling, add the chopped kale to the pan. Turn the kale to coat with oil and garlic. Cook until fragrant, approximately 2 minutes. Remove from heat.
- Once the quinoa is complete, add the kale and flaked salmon. Stir to combine.
- Add salt and pepper to taste, serve warm, and enjoy!
Tips
- Pre-rinse Quinoa: Rinse quinoa under cold water before cooking to remove its natural coating, saponin, which can taste bitter.
- Consistent Stirring: Stir the quinoa constantly to ensure even cooking and the creamy texture typical of risotto.
- Fresh Ingredients: Use fresh salmon and kale for the best flavor and nutritional benefits.
Variations & Substitutions
This dish is highly adaptable, and you can easily tweak it to suit your preferences or dietary restrictions:
- Vegetarian Option: Substitute the salmon with roasted mushrooms or tofu for a vegetarian version.
- Add Cheese: Stir in grated Parmesan for an extra layer of richness.
- Spice It Up: Add a pinch of chili flakes for a touch of heat.
Storage
Store leftovers in an airtight container in the refrigerator for up to 3 days. Reheat gently on the stove or in the microwave, adding a splash of water or stock to restore the creamy texture.
FAQ
Can I use frozen salmon?
Absolutely! Just make sure to thaw the salmon completely before poaching it. This will ensure even cooking and optimal flavor.
What can I use instead of vegetable stock?
You can use chicken stock or water with a bit of bouillon for added flavor. Just be mindful of the salt content if using bouillon.
Nutrition
This Salmon Quinoa Risotto is a powerhouse of nutrition, offering a balanced meal rich in protein, healthy fats, and fiber. It’s a great choice for those looking to maintain a healthy diet without sacrificing flavor.
Conclusion
There you have it, a deliciously modern take on a classic comfort dish. Whether you’re reminiscing about family gatherings or simply looking for a nutritious meal to share with loved ones, this Salmon Quinoa Risotto is sure to become a staple in your culinary repertoire. Enjoy your cooking journey and savor every bite!
Related update: Salmon Quinoa Risotto
Related update: Lasagne Roll Ups