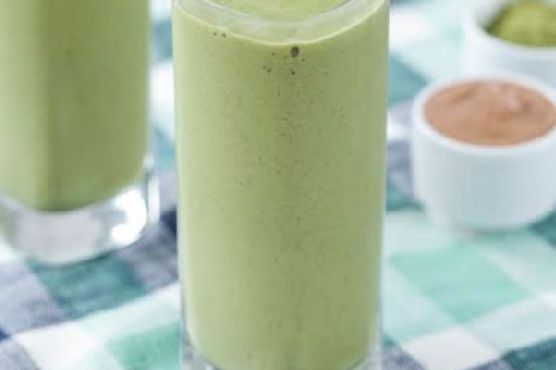
Banana Smoothie Boost | Made by Meaghan Moineau
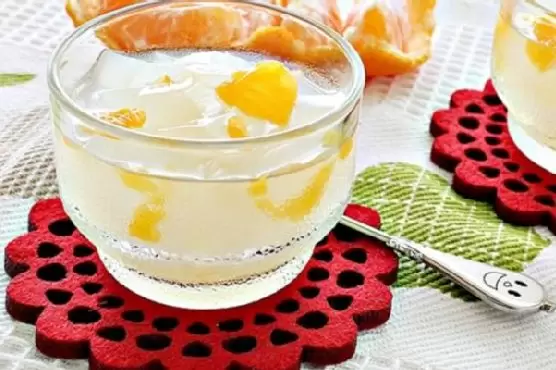
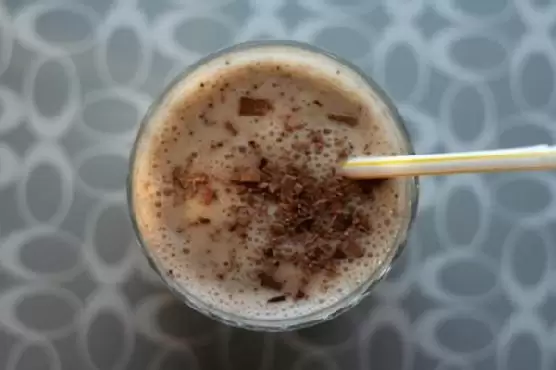
Title: Wake Up Your Day with a Nostalgic Banana Smoothie BoostDescription: Dive into a delicious morning ritual with our Banana Smoothie Boost. This delightful blend of almond milk, frozen banana, rich chocolate, aromatic coffee, and sweet honey is not just a treat for your taste buds but a journey down memory lane. Perfect as a dessert, this smoothie is a nostalgic nod to cherished family moments. Easy to make and even easier to enjoy, it's rated 2 out of 10 on the difficulty scale. Here's why this smoothie is the perfect start to your day.
---
A Sip of Nostalgia: The Banana Smoothie Boost
Every family has its cherished traditions, and in my family, the Banana Smoothie Boost holds a special place. It all started during summer weekends at my grandparents' house. Those mornings were filled with the aroma of freshly brewed coffee and the laughter of my cousins as we gathered around the kitchen table.
My grandmother, with her gentle smile, would hand each of us a glass of her signature smoothie. It was more than just a drink; it was a symbol of our time together. The rich, creamy blend of almond milk and frozen banana was always the highlight, accented by the decadent swirl of chocolate and the aromatic hint of coffee. A touch of honey added just the right amount of sweetness, tying all the flavors together.
We'd sit around, sipping our smoothies while listening to stories from our parents' childhoods. My grandfather would chime in with tales of his own, each sip of the smoothie bringing us closer to those cherished moments. The sprinkle of shaved chocolate on top was like the cherry on a sundae, a simple yet perfect finish that made each glass feel special.
Ingredients You’ll Need:
- 1 cup almond milk
- 1 frozen banana
- 1 tablespoon chocolate (plus extra for shaving)
- 1 teaspoon coffee
- 1 tablespoon honey
Instructions:
1. Combine the almond milk, frozen banana, chocolate, coffee, and honey in a blender.
2. Blend until smooth and creamy.
3. Pour the mixture into a glass.
4. Sprinkle shaved chocolate on top for that perfect finishing touch.
Difficulty Rating and Classification:
Rated at a 2 out of 10, this Banana Smoothie Boost is incredibly easy to make, making it a perfect choice for beginners or anyone looking for a quick and satisfying treat. Classifying it as a dessert, this smoothie is a delightful end to any meal or a sweet pick-me-up during the day.
Conclusion:
The Banana Smoothie Boost is more than just a blend of delicious ingredients. It's a sip of nostalgia, a way to reminisce about the warm, loving moments shared with family. Whether you're creating new memories or reliving old ones, this smoothie is a testament to the joy of simple pleasures and the comfort of home. So grab your blender, gather your loved ones, and enjoy this delightful Banana Smoothie Boost together.