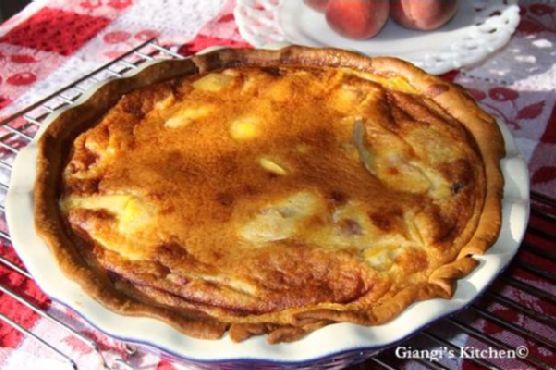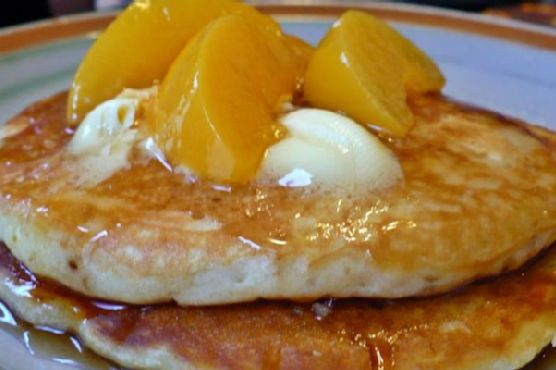
Peach & Brown Sugar Pancakes | Made by Meaghan Moineau
Title: Sunday Morning Bliss: The Irresistible Allure of Peach & Brown Sugar PancakesDescription: Dive into the comforting embrace of Peach & Brown Sugar Pancakes, a delightful twist on a breakfast classic that will transport you back to cherished family weekends. With a hint of nostalgia and a splash of sweetness, this dish is a testament to the timeless joy of sharing a meal with loved ones. Join us as we explore this easy-to-make treat, perfect for creating new memories around the breakfast table.
---
As the sun peeked through the curtains on Sunday mornings, the aroma of breakfast filled our home, heralding the start of a day rich with family warmth and laughter. Those cherished mornings were marked by the sizzle of batter hitting the griddle and the sweet, comforting scent of Peach & Brown Sugar Pancakes. This delightful recipe, passed down through generations, holds the secret to transforming any morning into a special occasion.
Ingredients:
- 1/4 cup brown sugar- 1 egg
- 3/4 cup milk
- 1 1/2 cups pancake mix
- 1 can of peaches (3/4 can for puree)
- 2 tablespoons shortening
- 2 tablespoons vegetable oil
Instructions:
1. Prepare the Peaches: Begin by pureeing 3/4 of the canned peaches. Place the slices, without the juice, into a blender or food processor. Pulse a couple of times to achieve a chunky, applesauce-like texture.2. Heat the Griddle: Warm up your skillet or griddle over medium-high heat, adding the shortening to prepare for cooking.
3. Mix the Wet Ingredients: In a small bowl or cup, whisk the egg together with the vegetable oil until well combined.
4. Create the Batter: In a medium mixing bowl, combine the pancake mix, milk, egg and oil mixture, and brown sugar. Whisk the ingredients until the batter is smooth but still slightly lumpy—overmixing can make the pancakes tough. Gently fold in the peach puree to infuse the batter with fruity goodness.
5. Cook the Pancakes: Pour the batter onto the hot skillet, using about 1/4 cup for each pancake to create large puddles of dough. Cook until bubbles form on the surface of the pancakes, then flip once to ensure even browning. Continue cooking until the pancakes are golden brown.
6. Serve and Enjoy: Serve the pancakes hot, topped with butter and syrup if desired, to enhance their flavor.
A Stroll Down Memory Lane
Every bite of these pancakes takes me back to those cozy mornings spent in my grandmother's kitchen, where stories flowed as freely as the maple syrup. I remember sitting on a stool, eagerly watching her skillfully flip each pancake, marveling at how she could turn simple ingredients into something magical. Her laughter filled the room, making those moments unforgettable. Sharing this recipe with my own family now, I see the same joy light up their faces, and it feels like a beautiful continuation of our family's culinary legacy.
Difficulty Rating: 3/10
Classification: Main Dish
These Peach & Brown Sugar Pancakes are not just a treat for the taste buds but a heartfelt reminder of the power of food to bring families together. Easy to prepare and delightful to eat, they are perfect for creating new traditions while honoring old ones. So gather your loved ones, and let the magic of these pancakes make your mornings a little sweeter.