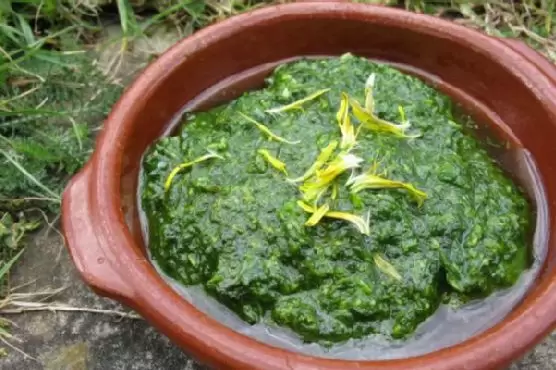
Dandelion pesto | Made by Meaghan Moineau
Title: "Nostalgic Flavors: Crafting Dandelion Pesto for a Taste of Home"Description: Dive into the world of unique flavors with our Dandelion Pesto recipe. This simple yet exquisite dish brings together the vibrant essence of dandelion greens and the aromatic allure of fresh basil, creating a culinary masterpiece that's perfect as an appetizer. Discover the joy of crafting this pesto, enriched with family memories and nature's bounty.
---
A Taste from the Past: Dandelion Pesto
There's something magical about stepping into the kitchen with a handful of fresh greens, especially when those greens come from the humble dandelion. This vibrant plant, often overlooked in favor of more conventional herbs, brings a bold, slightly bitter flavor to the table, making it the star of our delightful Dandelion Pesto.
As a child, I remember spending sun-soaked afternoons with my grandmother, wandering through her expansive garden. The air was filled with the sweet scent of blooming flowers and the hum of bees flitting from one bloom to another. Among the neat rows of basil and spinach, dandelions grew wild and free, their bright yellow heads peeking through the greenery.
"Nature's treasures," my grandmother would call them, as she carefully plucked the dandelion greens and petals, her hands gentle yet purposeful. She'd always save the best ones for our pesto, a recipe passed down through generations. It was her secret ingredient, a touch of nostalgia that transformed a simple dish into a familial ritual.
Ingredients:
- Dandelion greens
- Fresh basil leaves
- Spinach
- Petals from dandelion flowers
- Garlic
- Sea salt
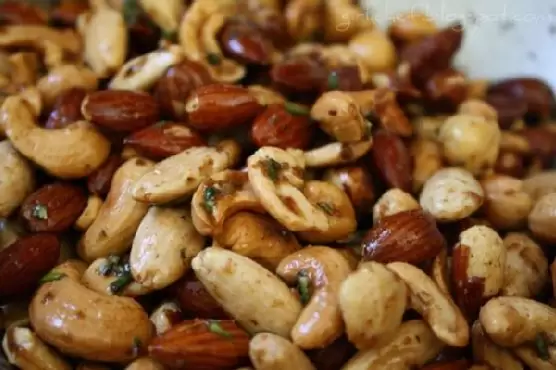
- Pine nuts
- Macadamia nuts
- Extra virgin olive oil (enough to bind the sauce together)
- Lemon juice
- Nutritional yeast flakes
Instructions:
1. Begin by washing the dandelion greens in a solution of water and raw cider vinegar, using a couple of tablespoons of vinegar to about a liter of water. This step ensures that your greens are not only clean but also retain their vibrant flavor.
2. Once washed, spin dry all the greens thoroughly. This is crucial to achieving the perfect consistency in your pesto.
3. Combine all the ingredients in a pestle and mortar or a food processor. Pound or blitz until nearly smooth. I like to leave a little texture to my pesto, but feel free to experiment until you find the consistency that delights your palate.
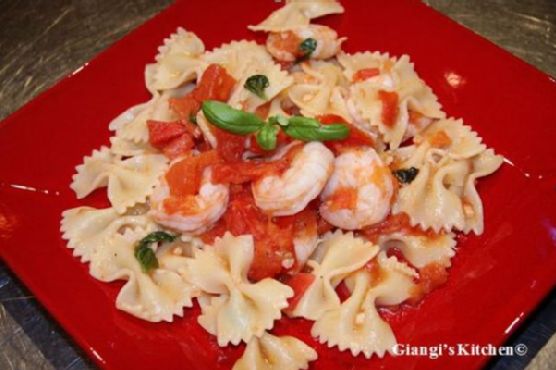
And just like that, you have a bowl of dandelion pesto, ready to be savored. Whether spread over warm, crusty bread, tossed with al dente pasta, or used as a dip for fresh vegetables, each bite is a reminder of simpler times and cherished family memories.
Difficulty: 3/10
Classification: Appetizer
This recipe, with its straightforward preparation and nostalgic allure, is an excellent way to introduce the bold, earthy flavors of dandelions into your culinary repertoire. It's not just a dish; it's a connection to the past, a celebration of nature, and an invitation to explore the rich tapestry of flavors that our world has to offer. So, gather your ingredients, embrace the simplicity of the process, and let the dandelion pesto transport you back to those sunlit days in the garden, where every meal was a story waiting to be shared.