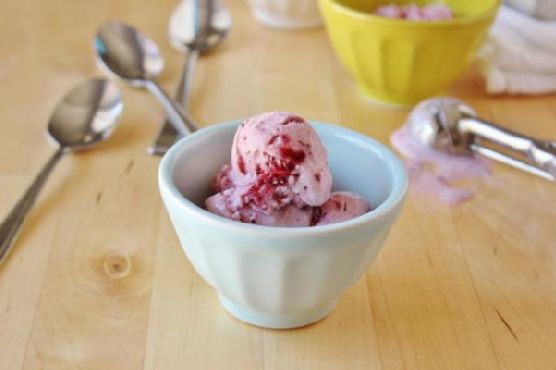
Avocado Chocolate Bits Frozen Yogurt | Made by Meaghan Moineau
Title: "Chilled Bliss: Avocado Chocolate Bits Frozen Yogurt"Description: Discover the delightful fusion of creamy avocados and rich chocolate in a refreshing frozen yogurt treat. Perfect for warm days or as a nostalgic indulgence, this dessert is a unique twist on classic flavors that promises to captivate both avocado enthusiasts and chocolate lovers alike.
---
A Cool Treat with a Heartwarming Tale
When summer rolled around each year, the kitchen in my grandmother’s house became a sanctuary of cool, creamy delights. Amid the laughter of cousins and the clinking sounds of kitchen tools, one treat was always a centerpiece during our family gatherings: Avocado Chocolate Bits Frozen Yogurt. This isn’t just any dessert; it's a culinary embrace of memories, flavors, and generations.
A Nostalgic Family Story
I remember the first time my grandmother introduced this unique dessert. The air was filled with the scent of blooming flowers and distant laughter, as the sun set gently behind the old oak trees. We sat on the porch, ice cream bowls in hand, as my grandmother shared stories of her childhood in Baja California. She spoke of sunny afternoons spent in her mother's kitchen, where avocados were abundant and chocolate was a treasured luxury. Inspired by her own childhood memories, she created this frozen yogurt recipe, merging the creamy texture of avocados with the bittersweet allure of chocolate.
As we savored each spoonful, the flavors seemed to weave us into the tapestry of her past, connecting us to family roots that spanned continents and generations. The smoothness of the avocado paired with the slight crunch of chocolate bits created a symphony of tastes that was both exotic and comforting. Each bite was more than just a treat; it was a passage through time, a shared experience binding us together.
Ingredients:
- 2 cups whole milk
- 3/4 cup sugar
- 1 tsp vanilla extract
- 4 large egg yolks
- 2 cups plain whole-milk yogurt
- 2 firm-ripe avocados, peeled and pitted
- 1 tbsp fresh lemon juice
- 4 oz 70% bittersweet chocolate, chopped
- 1/2 cup sweetened condensed milk
Instructions:
1. In a medium saucepan, heat the whole milk and sugar over medium heat until it just comes to a boil, stirring occasionally. Stir in the vanilla extract.
2. Prepare an ice bath by filling a large bowl with ice. Set a small metal bowl over the ice with a strainer on top.
3. In a separate medium bowl, lightly beat the egg yolks. Slowly ladle some of the hot milk into the egg yolks, whisking to prevent curdling. Pour this egg mixture back into the saucepan with the remaining milk.
4. Cook over low-medium heat, stirring constantly, until the mixture thickens and can coat the back of a wooden spoon, approximately 4 to 8 minutes.
5. Pour the custard through the strainer into the small bowl over the ice bath. Stir in the yogurt and whisk until the mixture cools completely.
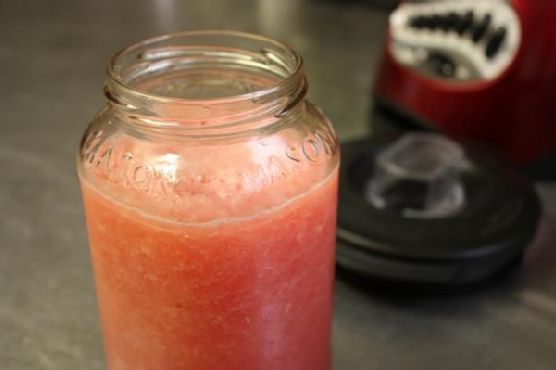
6. In a blender or food processor, puree the avocado meat with the lemon juice and some of the cooled custard. Combine this mixture with the remaining custard, blending until thick and creamy.
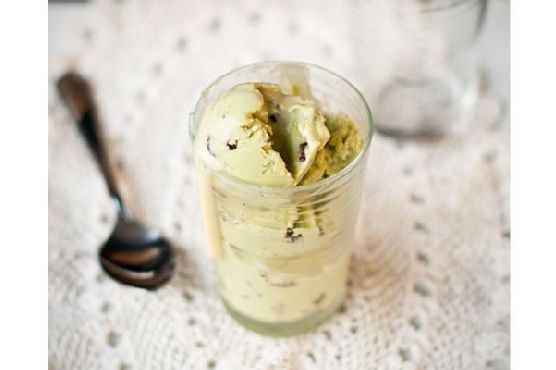
7. Freeze the custard in an ice cream maker according to the manufacturer's instructions. Halfway through the freezing process, fold in the chopped bittersweet chocolate.
8. Transfer the frozen yogurt into a freezer-safe container and freeze until solid, at least 4 hours.
Difficulty Rating: 7/10
Classification: Dessert
This Avocado Chocolate Bits Frozen Yogurt is a testament to the power of culinary creativity and the bonds of family. Its unique flavor combination is perfect for those who appreciate a twist on the traditional, offering a refreshing escape from the ordinary. As you prepare this recipe, I hope it brings you as much joy and connection as it has brought to my family over the years. Enjoy this delightful dessert and create your own cherished memories.