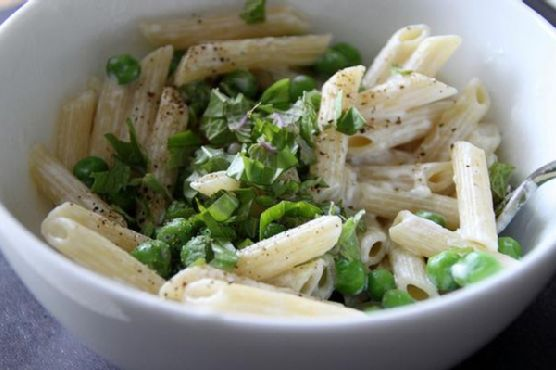
Penne with Goat Cheese and Basil
Intro
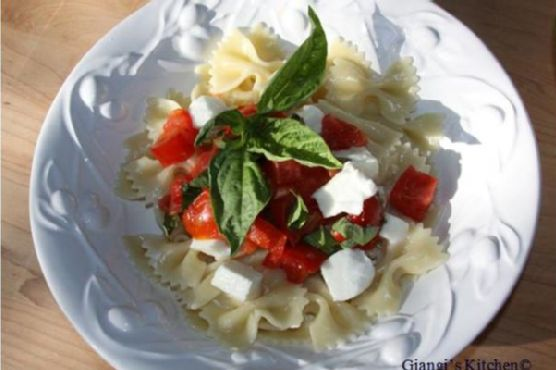
There’s a certain magic in the simplicity of pasta dishes. Growing up, summer evenings were often capped with a family dinner on our patio, where the fragrant aroma of fresh basil mingled with the earthy scent of cooling evening air. My grandmother would make her signature Penne with Goat Cheese and Basil, a dish that encapsulated the essence of those warm nights. Today, I’m sharing this beloved recipe with you. It’s a dish that’s not only easy to prepare but also rich in flavor and comfort, reminiscent of those cherished family gatherings.
Why You’ll Love It
This Penne with Goat Cheese and Basil recipe is a celebration of flavors and textures. The creamy, slightly tangy goat cheese coats the pasta beautifully, while the fresh basil adds a burst of aromatic freshness. It’s a perfect balance of richness from the cheese and the light, herbaceous notes of basil. Plus, this dish requires minimal ingredients and is quick to prepare, making it an ideal option for both busy weeknights and leisurely weekend meals. Whether you’re a seasoned cook or a beginner in the kitchen, you’ll find this recipe both rewarding and satisfying.
Ingredients
- Penne pasta
- Basil leaves
- Goat cheese
- Olive oil
- Salt and pepper
Instructions
- Cook the penne pasta according to the package directions until al dente. Drain and set aside.
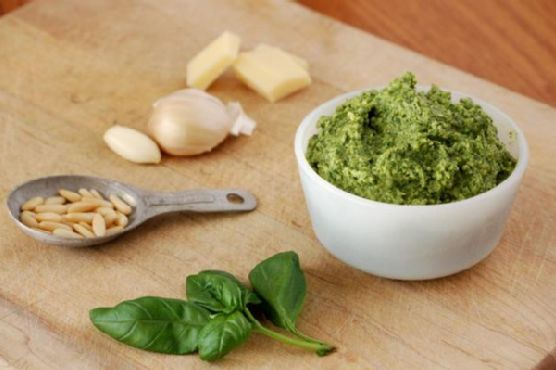
- While the pasta is cooking, arrange the basil leaves in a stack. Roll them tightly like a cigar, then slice crosswise to create thin strips. This technique is known as chiffonade.
- In a large bowl, toss the cooked penne with olive oil and crumbled goat cheese. Allow it to cool for a few minutes, letting the cheese melt slightly and coat the pasta.
- Add the chiffonade basil to the pasta along with a generous pinch of salt and freshly ground pepper. Toss everything together until well combined.
- Serve immediately, garnished with additional basil or a drizzle of olive oil if desired.
Tips
For the best results, use fresh goat cheese and basil. The quality of these ingredients will significantly impact the flavor of the dish. When cooking the pasta, make sure to salt the water generously to enhance the overall taste. If you prefer a creamy texture, reserve a little pasta water before draining and add it to the mixture while tossing the ingredients together.
Variations & Substitutions
This recipe is incredibly versatile. For a heartier version, you can add grilled chicken or roasted vegetables such as cherry tomatoes or zucchini. If goat cheese isn’t your favorite, feta cheese is a great substitute that also pairs well with basil. For a vegan alternative, try using a plant-based cheese and olive oil-based pesto for added flavor.
Storage
Leftovers of Penne with Goat Cheese and Basil can be stored in an airtight container in the refrigerator for up to three days. To reheat, gently warm in a skillet over low heat, adding a splash of olive oil or water to loosen the sauce. Note that the basil may darken slightly, but the flavor will remain delightful.
FAQ
Can I use dried basil instead of fresh basil?
While fresh basil provides the best flavor and aroma, you can use dried basil in a pinch. Use about one-third of the amount specified for fresh basil, as dried herbs are more concentrated in flavor. However, the dish will lack the same vibrant freshness that fresh basil offers.
Is this dish suitable for meal prep?
Yes, Penne with Goat Cheese and Basil is a great option for meal prep. Prepare the dish as instructed and store it in individual portions. It’s best enjoyed fresh, but it can still be a convenient and tasty option for packed lunches.
Nutrition
This dish is a good source of protein and calcium from the goat cheese, and the olive oil provides healthy fats. The basil adds vitamins and minerals, while the pasta offers carbohydrates for energy. For a lighter version, consider using whole grain or gluten-free pasta.
Conclusion
Penne with Goat Cheese and Basil is more than just a meal; it’s a comforting embrace of flavors that evoke cherished memories and new culinary adventures. Whether you’re recreating a nostalgic dish or trying it for the first time, this recipe promises a delightful experience. Gather your loved ones, savor each bite, and let the simple elegance of this dish bring a touch of warmth to your table.
Related update: Penne with Goat Cheese and Basil
Related update: How to Make the Best Chili