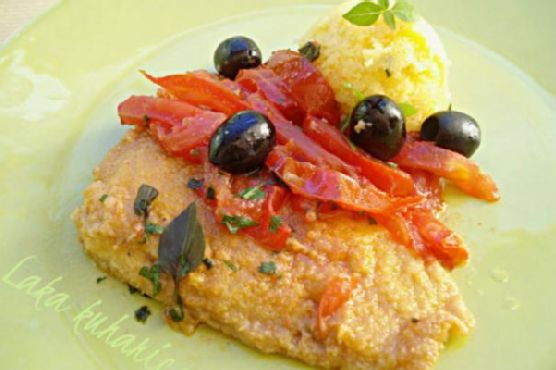
Aromatic perch fillets | Made by Meaghan Moineau
A Taste of Home: Aromatic Perch Fillets with a Nostalgic Twist
Description:
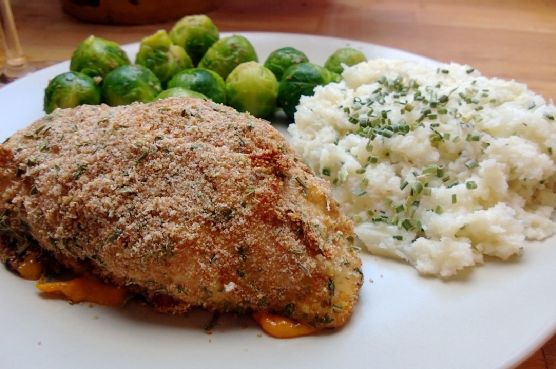
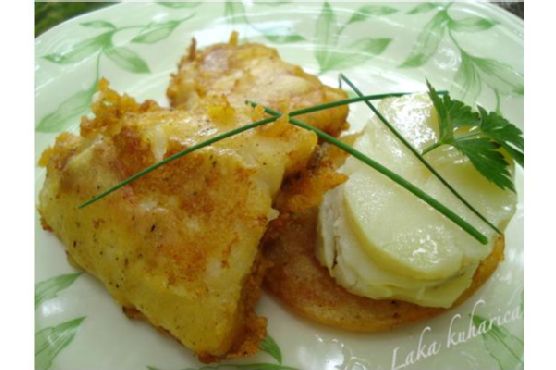
Dive into the delightful world of Aromatic Perch Fillets, a dish that not only tantalizes your taste buds but also warms your heart with nostalgic family memories. This main dish, rated 6 out of 10 on the difficulty scale, combines the exquisite flavors of carefully selected spices and a light beer batter to create crispy, golden-brown fillets. Paired with crispy pancakes made from the same aromatic batter, and a side of potato salad, this recipe is bound to become a family favorite.---
Ingredients:
- Fresh perch fillets
- Flour
- Corn flour
- Sea salt
- Ground pepper
- Light beer
- Peanut oil
Seasoning Mix:
- Bay leaves
- Black peppercorns
- Cardamom
- Cinnamon
- Garlic
- Ground nutmeg
- Sweet ground paprika
---
Instructions:
1. Prepare the Flour Mixture:
- In a bowl, mix together flour, corn flour, sea salt, and ground pepper.
2. Create the Seasoning Mix:
- Using a coffee mill or spice grinder, finely grind bay leaves, black peppercorns, cardamom, cinnamon, garlic, nutmeg, and paprika.
- Store the extra seasoning mix in an airtight glass bottle and refrigerate for future use.
3. Combine and Whisk:
- Add the freshly ground seasoning mix to the flour mixture and stir well.
- Slowly pour in the light beer, whisking constantly until the mixture reaches a smooth batter consistency.
4. Coat and Fry:
- Heat peanut oil in a frying pan over medium heat.
- Coat each perch fillet evenly with the batter.
- Fry the fillets for about 3 minutes on each side or until they turn a delicious golden brown.
- Once cooked, set the fillets aside in a warm place.
5. Create Pancake Accompaniments:
- With the remaining batter, form small pancakes and fry them in the same oil.
- These pancakes serve as a great accompaniment to the crisp perch fillets.
6. Serve:
- Serve the aromatic perch fillets immediately with a side of potato salad and the crispy pancakes.
---
A Nostalgic Family Memory:
Growing up, Sundays were always special in our household. My grandmother would gather the family around her old wooden table, a table that had witnessed several generations of shared meals and laughter. The centerpiece was often her famous Aromatic Perch Fillets, a recipe she had perfected over the years.
I remember the way she would meticulously prepare the seasoning, her hands moving with the grace and precision of years of practice. The air would fill with the warm, inviting scent of spices, creating an aroma that signaled the beginning of a cherished family ritual.
As children, my siblings and I would eagerly wait at the table, our eyes wide with anticipation as the golden fillets emerged from the kitchen. The sound of sizzling oil and the promise of a delicious meal brought us together, creating memories that would last a lifetime.
Even now, whenever I prepare Aromatic Perch Fillets, I'm transported back to those Sunday afternoons, surrounded by family and love. It's more than just a dish; it's a piece of our family's legacy, a reminder of the warmth and joy found in the simple act of sharing a meal.
---
Conclusion:
Aromatic Perch Fillets are not just a delicacy; they're a culinary journey back to cherished family moments. This recipe, with its blend of aromatic spices and crispy texture, serves as a reminder of the power of food to connect us to our past, our loved ones, and our shared traditions. Enjoy creating and sharing this dish with your family, and perhaps it will become a beloved part of your own family's history.