Avocado Egg Salad | Made by Meaghan Moineau
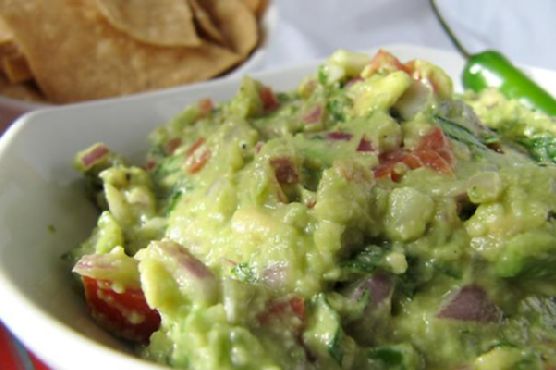
Title: Avocado Egg Salad: A Nostalgic Twist on a Classic RecipeDescription: Dive into the creamy, zesty world of Avocado Egg Salad, a delightful dish that combines wholesome ingredients with a touch of nostalgia. Perfect as an appetizer or a light main dish, this recipe is easy to prepare and bursting with flavor. Let's explore this culinary journey that’s not just about taste but also about cherished family memories.
---
When I think of Avocado Egg Salad, I am transported back to sunlit Sunday afternoons at my grandmother's house. The kitchen would be filled with laughter and the tantalizing aroma of freshly toasted whole wheat bread, a scent that promised comfort and warmth. Sundays were special, a day when our family would gather and share stories over meals that were simple yet profound in their ability to bring us all together.
One particular Sunday, when I was about ten years old, stands out vividly. It was the first time I was entrusted with helping make the Avocado Egg Salad, a dish my grandmother had perfected over the years. She believed in the magic of food, how it could evoke memories and strengthen bonds. As she handed me a ripe avocado, she shared stories of her childhood, of how avocados were a luxury during her time and how she would savor every bite.
The preparation began with boiling the eggs, a task I performed with great seriousness, knowing that these eggs would soon be transformed into something delicious. Once boiled, we immersed them in cold water to cool, a step that never failed to intrigue me with its simplicity and effectiveness.
Grandma's hands, though weathered with time, moved with grace and precision as she peeled the avocado and mashed it in a bowl, a task I eagerly took over. She taught me to squirt a bit of lemon over the mashed avocado, explaining that it not only enhanced the flavor but also kept the vibrant green color intact.
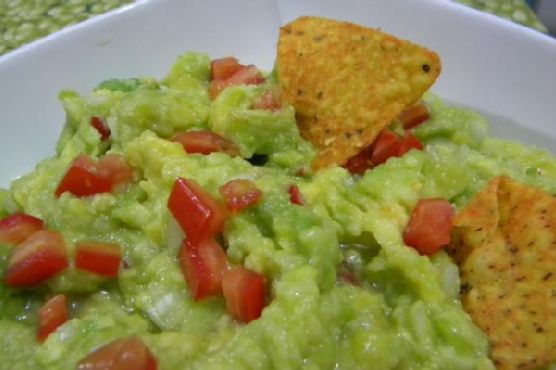
Together, we peeled and chopped the cooled eggs, mixing them gently with the avocado until they were well combined. The addition of black pepper, a crumbled seasoning cube, and a finely chopped scotch bonnet pepper added a kick that was both surprising and delightful. It was this unique blend of flavors that made the dish a family favorite.
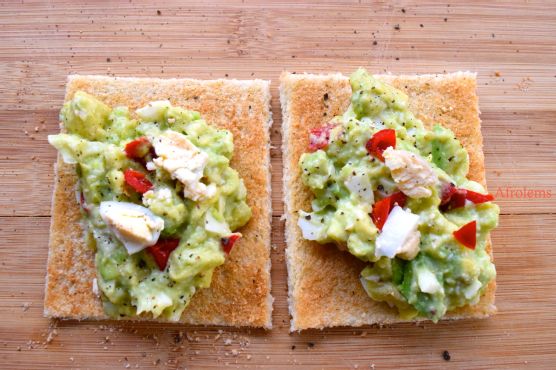
As I toasted the whole wheat bread, Grandma showed me how to roll it out with a rolling pin, a trick she had learned from her mother. Cutting off the edges, we placed a generous serving of the avocado egg mixture on the bread, creating a simple yet elegant presentation.
These moments, filled with love and togetherness, are what make cooking such a treasured activity. The Avocado Egg Salad was more than just a meal; it was a symbol of our family's bond, a recipe passed down through generations, each with its own story to tell.
Difficulty Rating: 3/10
Classification: Appetizer/Main Dish
With its creamy texture and rich flavors, the Avocado Egg Salad is a dish that can easily transition from a light appetizer to a satisfying main course. It's a breeze to prepare, making it ideal for both novice cooks and seasoned chefs alike. Whether you're looking to recreate a cherished family memory or simply enjoy a nutritious and delicious meal, this recipe is sure to become a beloved staple in your kitchen.