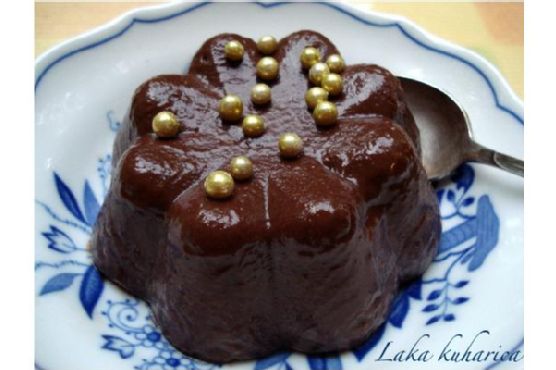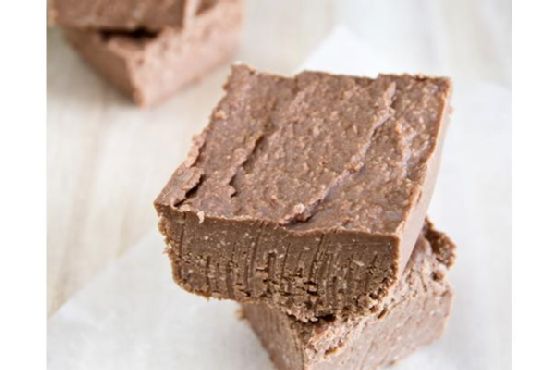
Vegan Peanut Butter Chocolate Fudge | Made by Meaghan Moineau
Title: Indulge in Nostalgia with This Vegan Peanut Butter Chocolate FudgeDescription: Dive into a world of rich, creamy, and decadent flavors with our Vegan Peanut Butter Chocolate Fudge recipe. Perfect for those who crave a deliciously sweet treat without compromising on health, this dessert combines the classic flavors of peanut butter and chocolate with a nostalgic family twist. Easy to make and impossible to resist, this fudge is sure to become a staple in your vegan dessert repertoire.
---
A Nostalgic Bite: Family Memories Wrapped in Chocolate and Peanut Butter
Growing up, my grandmother's house was a treasure trove of delightful aromas and comforting treats. One of my fondest memories was the annual summer family reunions, where the kitchen would buzz with the laughter of cousins and the sound of clinking pots and pans. Amidst the chaos, my grandmother would always have a special treat waiting for us: her famous peanut butter chocolate fudge.
This fudge was a testament to her love and creativity, bringing together the timeless combination of chocolate and peanut butter that we all adored. She would enlist my help, and I remember vividly the joy of mixing ingredients by her side, sneaking little tastes when I thought she wasn't looking. The fudge, rich and velvety, would be the highlight of our dessert table, disappearing almost as quickly as it was laid out.
Inspired by those cherished memories, I've crafted a vegan version of this beloved treat, adding a modern twist with wholesome ingredients that don't compromise on flavor. This Vegan Peanut Butter Chocolate Fudge is a tribute not only to my grandmother's culinary genius but also to the warm, joyful moments we shared as a family.
Ingredients:
- 1 cup coconut butter
- 1 cup peanut butter
- 2 ripe bananas
- 1/2 cup cocoa powder
- 1/4 cup agave nectar
- 1 teaspoon vanilla extract
Instructions:
1. In a food processor, combine all the ingredients until smooth.
2. Carefully fold the mixture into a flat, sealable container.
3. Freeze for 1 hour or refrigerate overnight to set.
4. Optional: To make your own coconut butter, pulse shredded coconut in a food processor until smooth (about 8-12 minutes).
Difficulty Rating: 3/10
This recipe is as simple as it is delicious, perfect for novice cooks and seasoned chefs alike. With minimal steps and ingredients, it's an easy dessert that delivers maximum flavor with minimal effort.
Classification: Dessert
Whether you're looking for a sweet treat to end a meal or a nostalgic snack to enjoy with a cup of tea, this Vegan Peanut Butter Chocolate Fudge is the perfect dessert for any occasion.
Final Thoughts:
Recreating this fudge has not only allowed me to indulge in a delicious treat but also to revisit the cherished moments of my childhood. I hope this recipe brings a touch of nostalgia and joy to your kitchen, just as it has to mine. Enjoy every bite and the memories it inspires!