Cajun Seafood and Andouille Sausage Gumbo | Made by Meaghan Moineau
Title: A Hearty Bowl of Tradition: Cajun Seafood and Andouille Sausage GumboDescription: Dive into the rich and spicy world of Cajun cuisine with our delectable Seafood and Andouille Sausage Gumbo. This main dish combines the fiery flavors of the South with a heartwarming family story. Perfect for those seeking a culinary adventure, this gumbo rates an 8 out of 10 on the difficulty scale, making it a rewarding challenge for any home chef.
---
Cajun Seafood and Andouille Sausage Gumbo: A Taste of Home
There’s something magical about a dish that can transport you to another time and place with just one taste. For me, Cajun Seafood and Andouille Sausage Gumbo is more than just a meal; it’s a gateway to cherished family memories. As I prepare this dish, the kitchen fills with the tantalizing aroma of spices, instantly reminding me of the lively Sunday afternoons spent at my grandmother’s house.
Ingredients:
- Andouille sausage
- Whole bay leaves
- White pepper
- Black pepper
- Cayenne pepper
- Celery
- Clam juice
- Cooked white rice
- Canned fresh crab meat
- Dried thyme
- Garlic
- Jalapeno pepper
- Red orange bell pepper
- Dried oregano
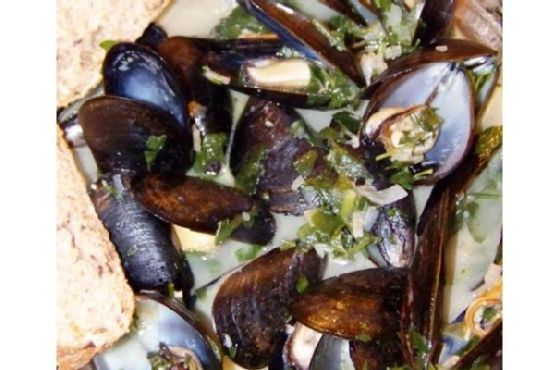
- Oysters
- Peanut oil
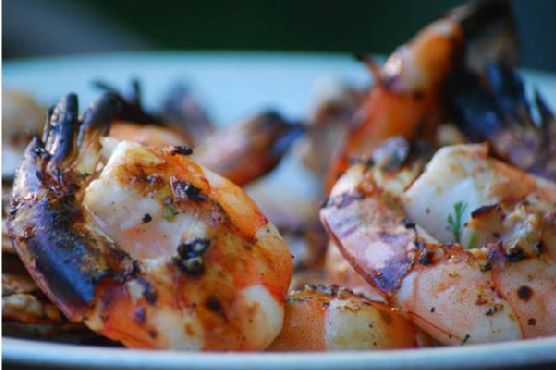
- Shrimp
- White flour
Instructions:
1. Prepare the Seasoning Mix: In a small bowl, combine the seasoning ingredients and set aside. This blend is the heart of the dish, giving it the authentic Cajun kick.
2. Vegetable Medley: In a medium bowl, combine the onions, peppers, and celery, then set aside. This "holy trinity" is a staple in Cajun cooking, providing a flavorful base.
3. Sauté the Sausage: In a lightly oiled 5-quart Dutch oven, brown the sausage rounds over medium-high heat and set aside. The sausage adds a smoky depth to the gumbo.
4. Create the Roux: Add the peanut oil to the Dutch oven. When it starts to smoke, slowly combine the flour, whisking continuously until the roux reaches a dark reddish-brown color. This process requires patience but is essential for the rich, nutty flavor of the gumbo.
5. Add the Vegetables: Immediately add half of the vegetable medley to the roux, stirring for 1 minute. Then, add the remaining vegetables, mix thoroughly, and cook for 2 more minutes.
6. Spice It Up: Add the seasoning mix, stir well, and cook for about 2 minutes. Then add the garlic, stirring for another minute to release its aroma.
7. Simmer the Stock: Add the fish stock or clam juice, mixing well. Bring the mixture to a boil, then reduce to a simmer and cover. Let it simmer for about 30 minutes, allowing the flavors to meld together.
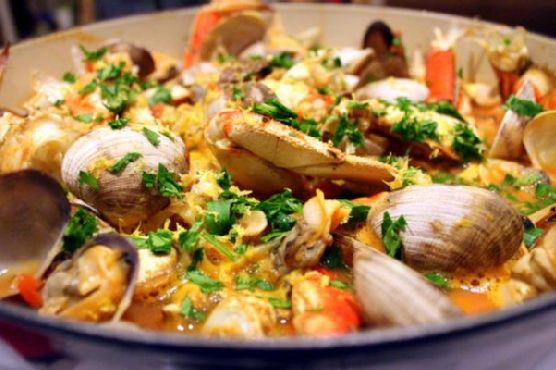
8. Combine the Seafood and Sausage: Add the reserved browned sausage rounds, crab, shrimps, and oysters with their liquid. Cook over medium heat for about 10 minutes, stirring occasionally.
Serving Suggestion:
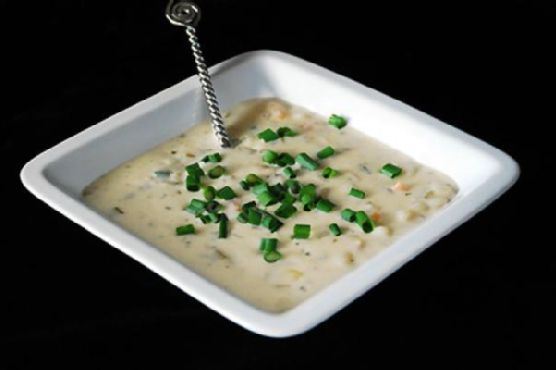
Serve the gumbo over cooked white rice, allowing the rice to absorb the flavors of the broth. Each spoonful is a delightful blend of spice and seafood, reminiscent of the vibrant culture from which it originates.
A Nostalgic Memory:
As a child, I often sat on a high stool, watching my grandmother expertly prepare her famous gumbo. Her hands moved with a rhythm that spoke of years of practice, and she’d always wink at me when she added a little extra cayenne, just for that extra kick. The kitchen was her domain, and I was her eager apprentice. Family would gather around her large dining table, bowls steaming, laughter echoing off the walls. To this day, the taste of gumbo is intertwined with memories of warmth, love, and laughter.
Difficulty Rating: 8/10
While not for the faint-hearted, the process of creating this gumbo is as rewarding as it is complex, making it a perfect main dish for special occasions or when you’re longing for a taste of home.
---
Whether you're a seasoned chef or an enthusiastic novice, this Cajun Seafood and Andouille Sausage Gumbo promises a culinary journey like no other, steeped in tradition and bursting with flavor. So grab your apron, and let the magic of Cajun cooking envelop your senses.