Spinach, Tomato & Onion Couscous | Made by Meaghan Moineau
Title: Savory Memories: Spinach, Tomato & Onion Couscous Delight
Description:
Uncover the warmth of family gatherings with our Spinach, Tomato & Onion Couscous recipe. This simple yet flavorful dish brings together the wholesome goodness of fresh vegetables, creamy feta, and nutty pine nuts, all nestled in fluffy whole-wheat couscous. Easy to prepare and bursting with Mediterranean flavors, this dish is perfect for any occasion. Join us as we dive into a nostalgic family memory while crafting this delightful main dish.---
A Taste of the Past: Spinach, Tomato & Onion Couscous
When I think of Spinach, Tomato & Onion Couscous, I am instantly transported back to the cozy kitchen of my grandmother's home. The aroma of sautéed onions and the vivid colors of fresh vegetables always remind me of the Sunday afternoons we spent cooking together. It was a tradition that brought our family closer, a ritual that was more about sharing love than just sharing a meal.
Cooking with Grandma was a cherished time. She would let me stir the couscous, teaching me the importance of patience as we waited for it to absorb the boiling water, turning into fluffy grains. Her hands expertly chopped the onions and tomatoes, while I watched, eager to be part of the magic.
As the onions began to brown in the olive oil, their sweet scent filled the air, mingling with the freshness of the spinach and the tangy allure of tomatoes. Grandma’s secret was in the timing—sautéing just enough to wilt the vegetables but keeping the spinach a vibrant green. It was a delicate balance, much like the dance of family life.
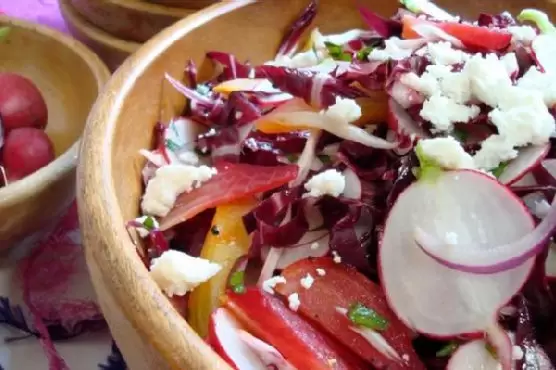
The final touch was the addition of pine nuts, their richness contrasting beautifully with the creamy crumbled feta. Tossing everything together was like assembling a symphony of flavors, each ingredient playing its part in harmony. The couscous soaked up the juices of the vegetables, creating a melt-in-your-mouth experience that was both comforting and nourishing.
We would gather around the table, the couscous as the centerpiece, and share stories, laughter, and the warmth of being together. This dish was more than just food; it was a testament to family bonds and the joy of shared memories.
Recipe Difficulty: 3/10
Classification: Main Dish
---
Ingredients:
- 1 cup whole-wheat couscous
- 1 ½ cups water
- ½ teaspoon salt, divided
- 2 tablespoons olive oil
- 1 red onion, thinly sliced
- 2 tomatoes, diced
- 4 cups fresh spinach
- ¼ cup pine nuts
- ½ cup feta cheese, crumbled
- Salt and pepper to taste
Instructions:
1. Prepare the Couscous: In a small pan, bring the water and half of the salt to a boil. Add the couscous, stir, and cover with a lid. Remove from heat and let it sit for 5 to 7 minutes, allowing it to absorb the water.
2. Sauté the Vegetables: Heat a large pan over medium-high heat and add the olive oil. Once hot, add the sliced onions and sauté until they begin to brown. Add the diced tomatoes and the remaining salt, sautéing for another 20 to 30 seconds until the tomatoes start to wilt.
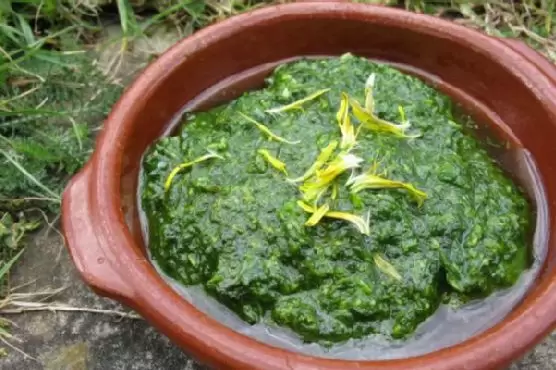
3. Add the Spinach: Stir in the fresh spinach, sautéing just until it wilts but remains bright green.
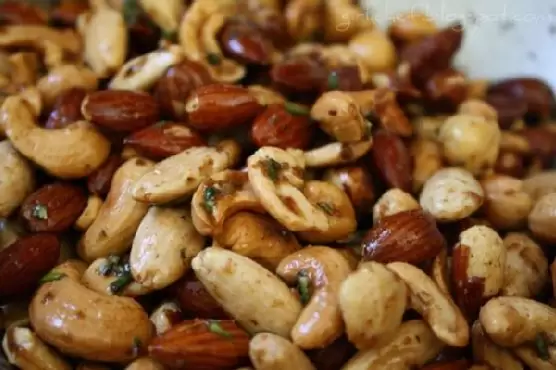
4. Finish with Pine Nuts: Incorporate the pine nuts into the vegetable mixture, then remove the pan from the heat. Season with salt and pepper to taste.
5. Combine and Serve: Pour the couscous into a large bowl, add the sautéed vegetables, and toss with the crumbled feta cheese. Top with additional feta and serve hot.
Relive the cherished moments of family gatherings with this simple yet heartwarming recipe. Whether it becomes a staple in your home or a special treat, Spinach, Tomato & Onion Couscous is sure to create delicious new memories.