Irish Colcannon | Made by Meaghan Moineau
Title: "Irish Colcannon: A Hearty Taste of Home and Heritage"
Description: Dive into the comforting embrace of Irish Colcannon, a traditional dish that marries creamy potatoes with savory bacon, tender leeks, and cabbage. This beloved recipe is more than just a meal; it's a nostalgic journey to the heart of Ireland's culinary heritage. Discover how to blend these simple ingredients into a soul-warming main dish that’s rich in flavor and family memories.
---
Irish Colcannon: A Delectable Journey to My Grandmother's Kitchen
Growing up, Sunday dinners at my grandmother's house were nothing short of magical. The air would be filled with laughter, tales from the week, and the irresistible aroma of Irish Colcannon wafting through the rooms. This dish, a staple in our family, was a testament to my grandmother's love for bringing people together with food.
Ingredients:
- Rashers of bacon
- 2 to 3 cloves of garlic
- 1 can of green cabbage
- 2 split leeks
- A pinch of mace
- 6 yellow or red potatoes
- Salt to taste
- 1 cup whole milk
Instructions:
1. Prepare the Cabbage: Chop the canned green cabbage and steam it using minimal water until it is quite well done. This step is crucial for capturing the tender texture that makes Colcannon so comforting.
2. Boil the Potatoes: In a separate pot, boil the yellow or red potatoes until they are fork-tender. The choice between yellow or red potatoes adds a slight variation in texture and flavor, allowing you to customize the dish to your liking.
3. Simmer the Leeks: Clean and chop the leeks, including the first couple of inches of green. Place them in a saucepan with the whole milk and simmer until tender. The milk infuses the leeks with a creamy, aromatic quality that elevates the entire dish.
4. Crisp the Bacon: If using bacon, sauté the rashers until they are crisp. Once cool enough to handle, break them into bite-size pieces. The crispy bacon adds a delightful crunch and savory depth to the Colcannon.
5. Mash the Potatoes: Drain the boiled potatoes and mash them until smooth. Be gentle to maintain a fluffy texture.
6. Combine Ingredients: Stir in the milk with leeks, steamed cabbage, a pinch of mace, minced garlic, and bacon bits. Mix gently to combine all the ingredients, taking care not to over mash the potatoes, to preserve their texture.
A Nostalgic Family Memory:
As I watched my grandmother gracefully move around the kitchen, I learned that cooking was more than a chore—it was an act of love. The Colcannon she prepared was not just a meal; it was a canvas of our Irish heritage painted with stories and laughter.
On one particular Sunday, I remember her sharing a tale of her own childhood in County Clare, where Colcannon was a staple at family gatherings. She spoke of the long, communal tables where everyone, young and old, would gather to share stories and meals. I realized that this dish was not just filling our stomachs, but also our hearts with a sense of belonging and continuity.
Difficulty Rating: 5/10
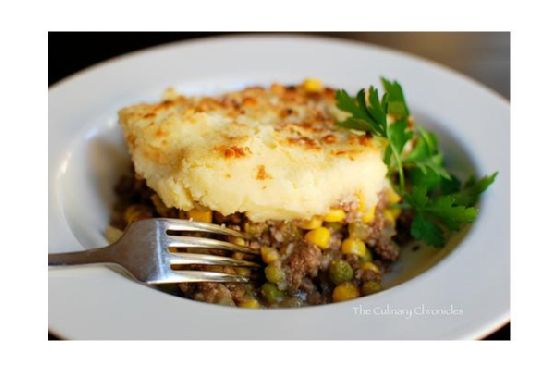
Classification: Main Dish
This Colcannon recipe is straightforward, making it accessible for cooks of all skill levels. Its simplicity is part of its charm, allowing the quality of the ingredients to shine. As a main dish, it stands alone as a hearty, comforting meal, perfect for sharing with loved ones. Whether you're reminiscing about family traditions or creating new ones, Irish Colcannon is a delicious way to celebrate heritage and home.